Auditioning Fabrics on the Fly: Color Theory in Action

Sometimes auditioning is as simple as laying your blocks out on top of a background fabric!
Last week, we talked about ways to audition fabrics before you even start cutting (or even before buying!). We talked about putting coloring sheets — paper or digital — to work, about shifting your point of view by stepping back from your fabrics, and about the value of sewing a test block or a quick proportion study to see how your colors behave together before investing in new fabrics.
But what happens when you’re already mid-project and things just aren’t…clicking? When certain colors just don’t look great sewn together or when there seems to be something missing.
That’s where auditioning and pivoting on the fly comes in, whether you're making a pattern or working on an improv quilting project.
What to do First When You Hit that “Wall”
Now, sometimes you hit that proverbial wall and just aren’t loving how your quilt is coming together, I think it is important to first take a second and recognize that this is frustrating.
Sure, it isn’t the end of the world, but it is easy to feel disheartened. You put all that work into choosing your fabrics. Maybe you’ve cut out all your pieces. Maybe you’ve even sewn your blocks together (been there, done that!). You’ve invested time and energy into your quilt, so I think step one is to acknowledge that this can really be a bummer (for lack of a better word).
Once you’ve recognized that sense of a set back, and maybe even vented a little, then it’s time to take a moment to shift your mindset from “ugh, my quilt is ugly” to “this is a good creative challenge!”
So, if you find yourself frustrated, take a deep breath. Maybe take a break. Wait until you’re not feeling that first wave of annoyance. And then dive back in to figuring out a way forward.
How to Recalibrate with Color Theory
When you’re frustrated and unsure of how to bring that spark back, it is tempting to pull every fabric out and see how they look next to each other. But let’s remind ourselves about our best color-theory practices. Before trying to figure out what your next step is, take a step back and identify what color harmony you had in mind when you started the project. Is it:
Two-color complement (blue + orange, purple + yellow)
Analogous harmony (greens + blues, reds + oranges)
Monochrome exploration (all values of a single hue)
Something else entirely?
Recentering with your original goal and naming your original intention matters, because it’ll give you a framework when deciding what to audition instead of “trying all the things.”
If you need a refresher on pulling a palette based on color harmonies, make sure to read my blog post From Chaos to Color Palette: Choosing Fabric for Your Next Quilt.
Identify the Possibilities
Once you’ve identified your starting relationship, try seeing what the possibilities are that it contains.
If you began with complementary colors, try adding a neighbor to one side (blue + orange + yellow-orange). It keeps the bold contrast but adds depth.
If you began with analogous hues, try extending the chain one more step around the wheel (blue + green + yellow-green). This keeps the harmony but gives more variety.
If you began with monochrome, add neutrals (muted tones, light/dark shifts) to create rhythm, or one carefully chosen spark outside the family for emphasis.
Take one of your hues and change/layer on a different value, darker or lighter, to see if that helps make it pop.
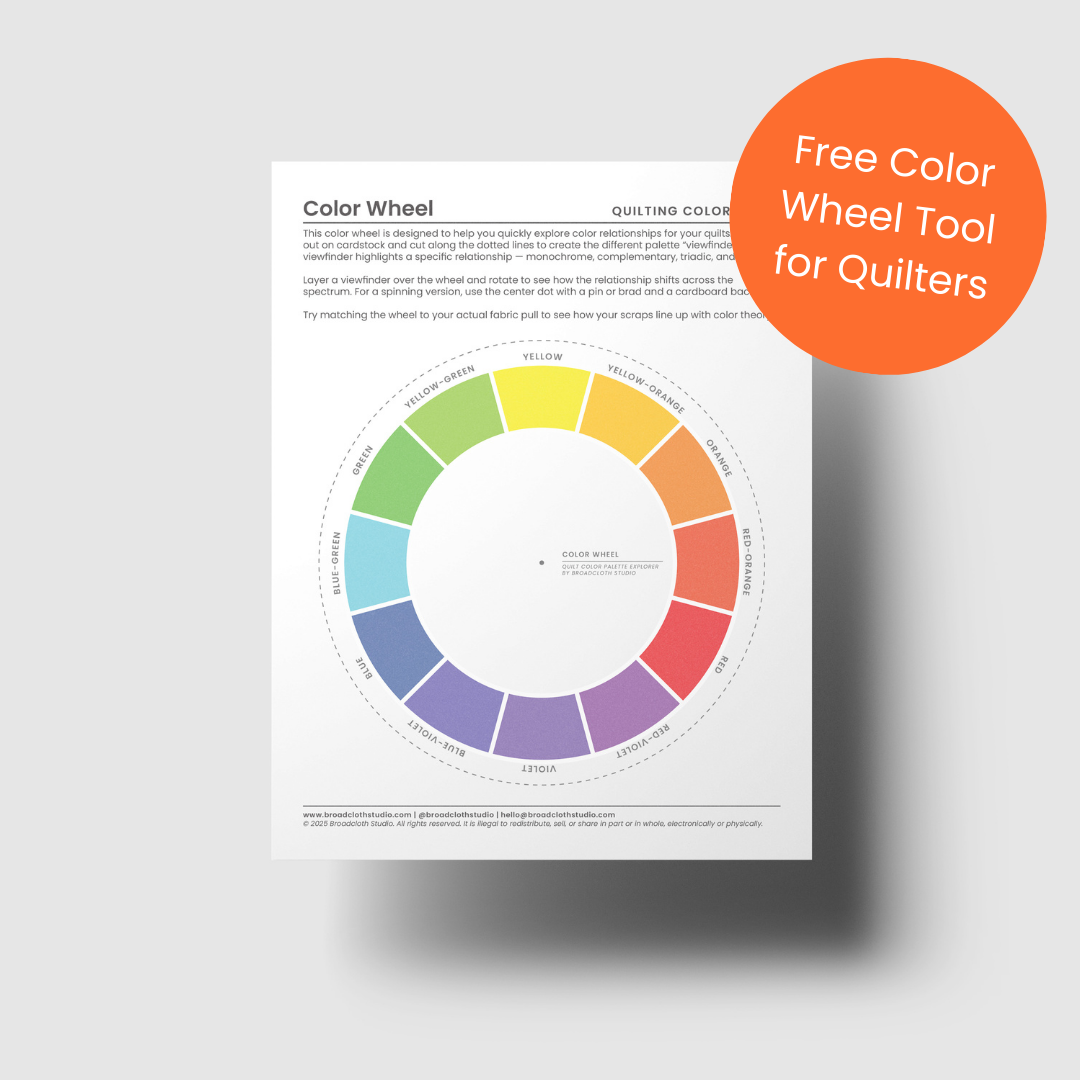
Tools like Adobe Color are perfect here: plug in your starting hues and see how the wheel suggests extensions — then go back to your fabrics and see what scraps fit. Or download my free printable Color Wheel tool below!
How to Audition on the Fly
With all these new theoretical possibilities in mind, now it is finally time to bring your fabric into play.
Pull the fabrics you have that fit the bill. If you don’t have fabrics in those colors, try to substitute with items from around the house: paper scraps, clothing, book covers, etc (obviously you can’t cut up the objects, but visualizing what those colors might look like is a powerful tool!).
Lay out what you have made so far, whether it’s blocks or even just strip-pieced WOF cuts. Have your camera ready to take photos of different ideas so you can compare them later. Then:
Pin small scraps directly onto your composition — step back, take a photo, walk by it, view it in greyscale. Try to see what this change looks like from different angles.
Add in proportion — take these new scraps and switch up the proportion of them. Sprinkle more across the quilt top, or make it so a pop of color just peeks through. Take photos. Keeping changing your point of view.
Change the placement – sometimes the whole composition doesn’t “need” something, but it could use a little spark of something here and there. Take those scraps and try them in one place, take a photo, then try another, take another photo, etc. Then compare your snapshots to see which one catches your eye!
Test in a block or strip — if you’re working on an improv project, why not test it by layering in a shape or a stripe or a border or what have you with that new color and add it to your design wall?
The more options you physically test out (whether through sewing up examples or simply pinning scraps directly to the design) the more information and ideas you’ll create from yourself. It might take a couple of tries, and maybe some curveball ideas, but push yourself to try as many combinations as you can.
For me, the process of trying and then stepping back and changing my point of view never fails…though it can take many iterations until I feel that spark of excitement reflected back at me.

Here’s an old snapshot I took when auditioning a pale lilac fabric as background for one of my Supernova Stripes quilt vs…
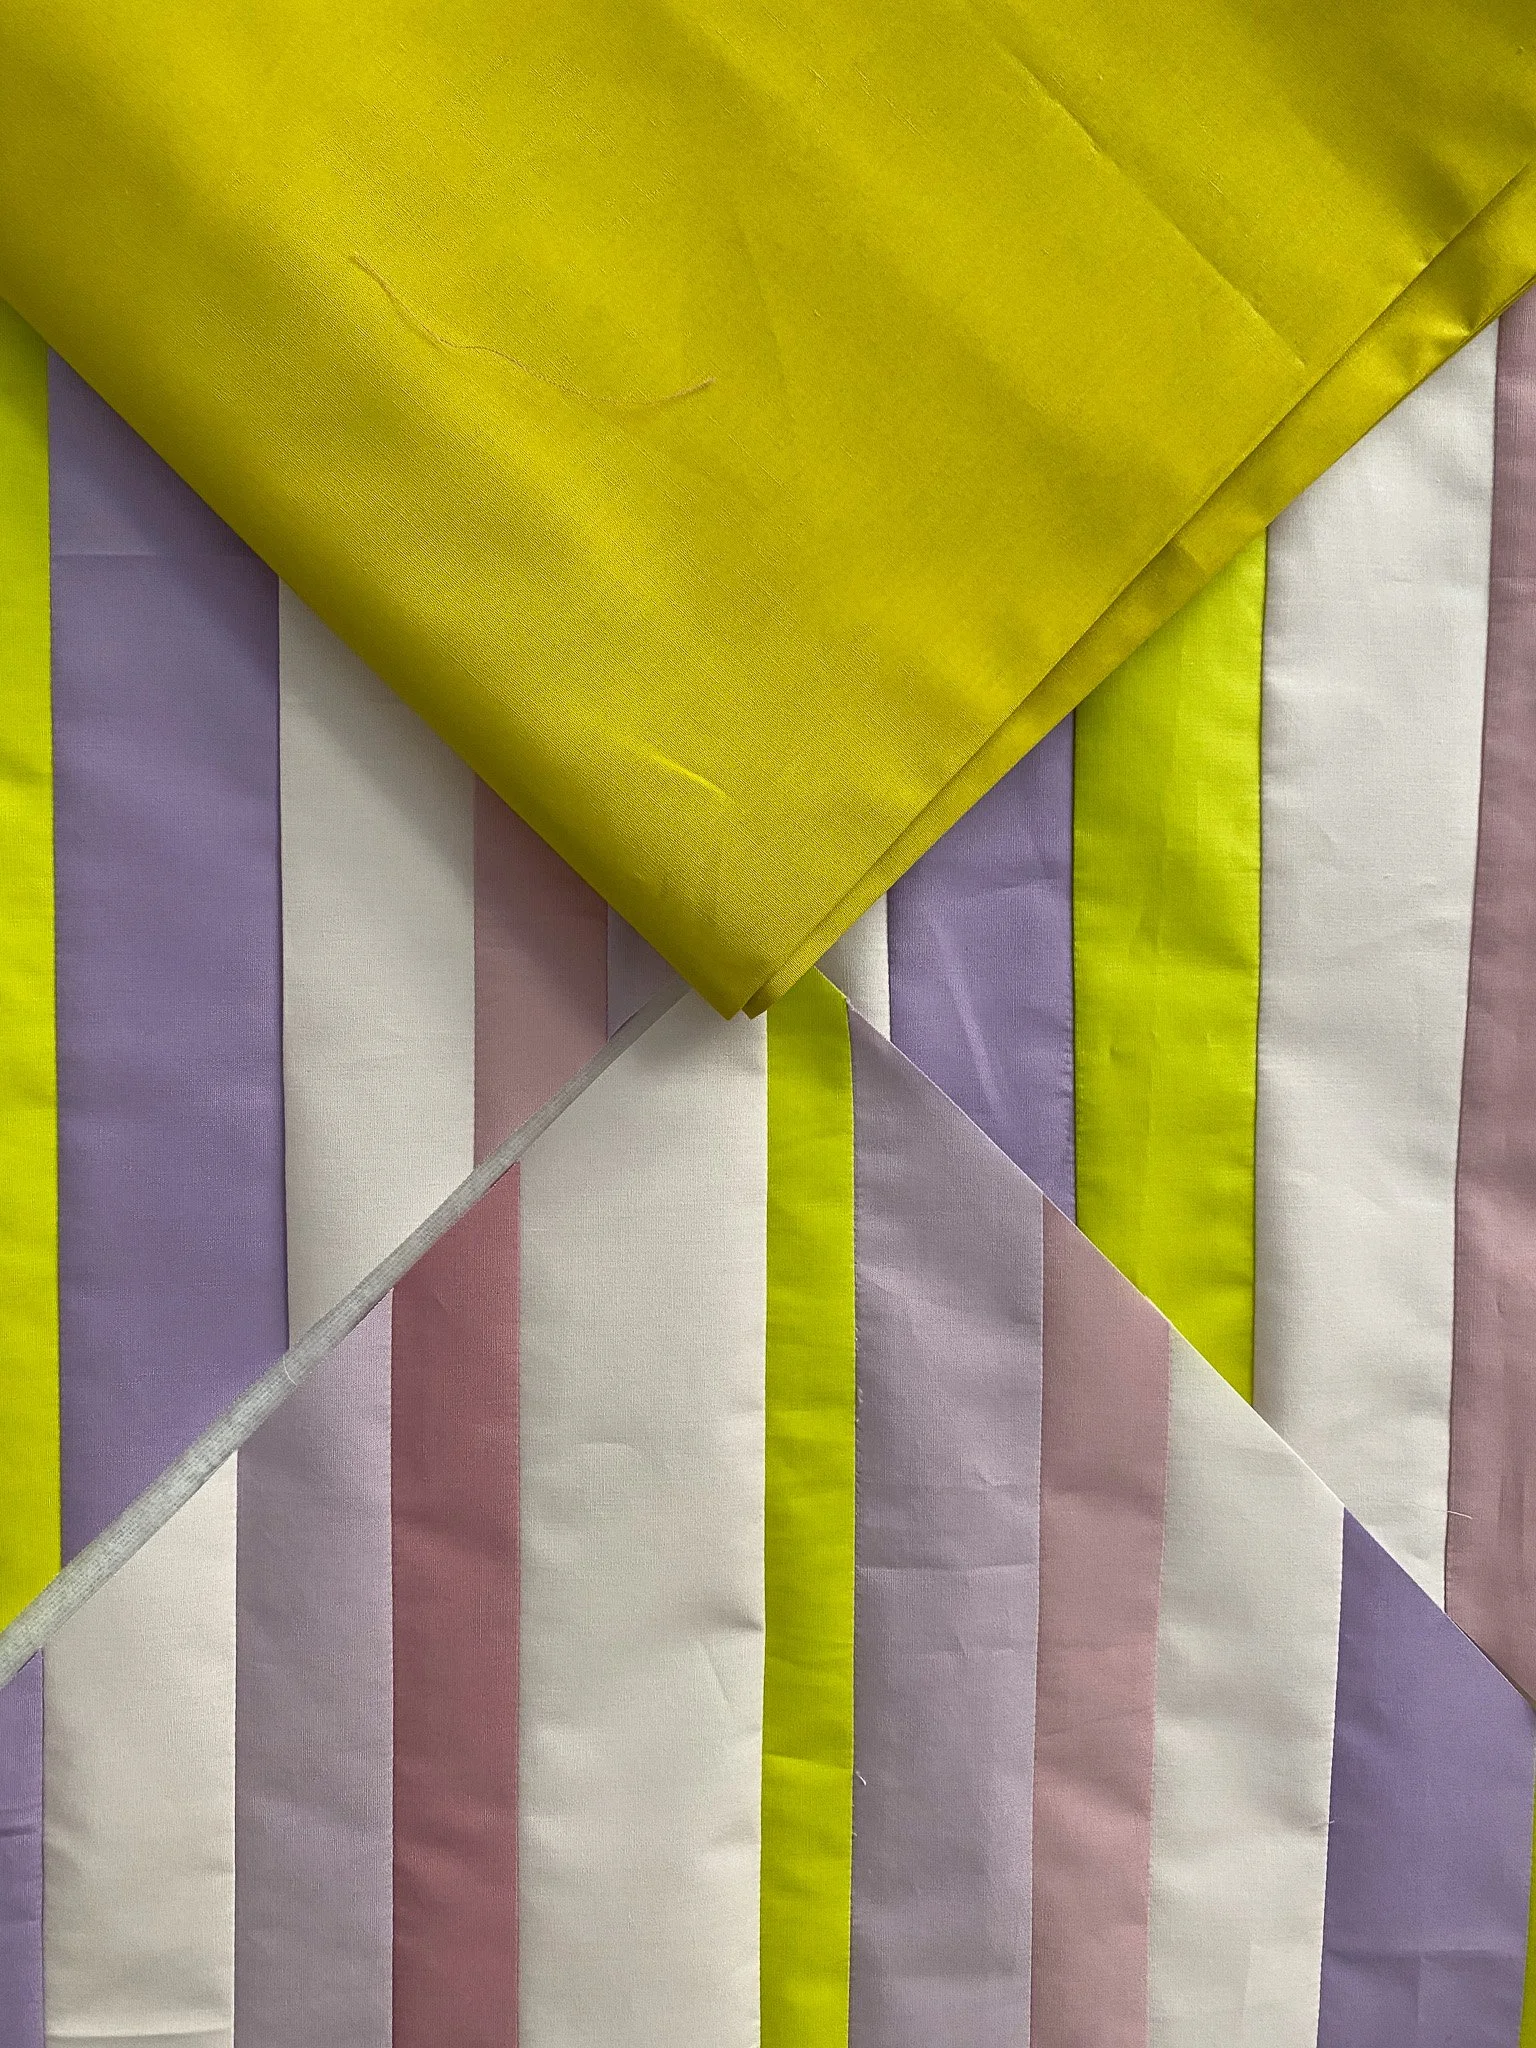
…a lime green fabric as background. These photos aren’t fancy, but can help you quickly compare different ideas on the fly!
How to Keep Going
As you begin to expand beyond your initial pull, things can get…messy. If at any point you’re feeling stalled out, take a break. Once you’ve caught your breath, go back to that original palette. Try a different route.
Auditioning on the fly might feel a little chaotic at times as you pin and re-pin scraps, but remember to let the underlying color harmony guide you: you’re not throwing everything at your design wall, you’re letting color theory set the stage, then actively observing how scraps perform in real time.
Remember, especially in improv quilting, to above all stay curious and flexible. Even if you’re working with a pattern, bringing that open improv mindset into puzzling your way through a fabric color palette hiccup is key. You don’t have to love every iteration, but each test gives you more information about where your quilt wants to go.
Looking for the Perfect Practice Project?

Follow the Fabric. Trust your instincts.
Chaos Collage is your invitation to let loose. This creative playbook throws out traditional rules in favor of wild, energetic patchwork—and gives you the tools to do it with confidence. It’s not messy; it’s momentum.
Perfect for makers who want to explore bold compositions with a balance of structure and spontaneity, this playbook helps you embrace surprise, scale, and visual tension in a totally unique way.
Why You'll Love It
Intuitive design, big visual payoff: Build bold, high-impact quilts with an easy to follow framework
Guided creative prompts: Tips on contrast, color, and composition help you turn chaos into cohesion
Built for momentum: Skip the templates and sew from the gut
Cut without second-guessing: Freehand cutting video demos walk you through each shape in action
Details
Instant download PDF
Skill level: Advanced Beginner to Easy Intermediate
Standard American terms and measurements
Includes access to companion video tutorials
Includes flexible layout guidance for a Wall Hanging (24” x 30”) or a Crib Size (36” x 48”) quilt
© 2025 Broadcloth Studio. All Rights reserved. Resell of finished product with pattern credit allowed.
Looking for an improv quilt project that’s perfect to practice auditioning and pivoting on the fly?
My Chaos Playbook is designed exactly for that — it gives you prompts and layouts that encourage experimentation while still offering a framework to work within. Think of it as a set of creative rules for improv quilting: enough structure to keep you moving forward, but plenty of space to explore color theory, proportion shifts, and unexpected fabric pairings.
If you’ve ever wished for improv quilt ideas that feel approachable (not overwhelming), Chaos is a great place to start.
You can check it out here.
You May Also Enjoy These Quilting Tips and Guides: