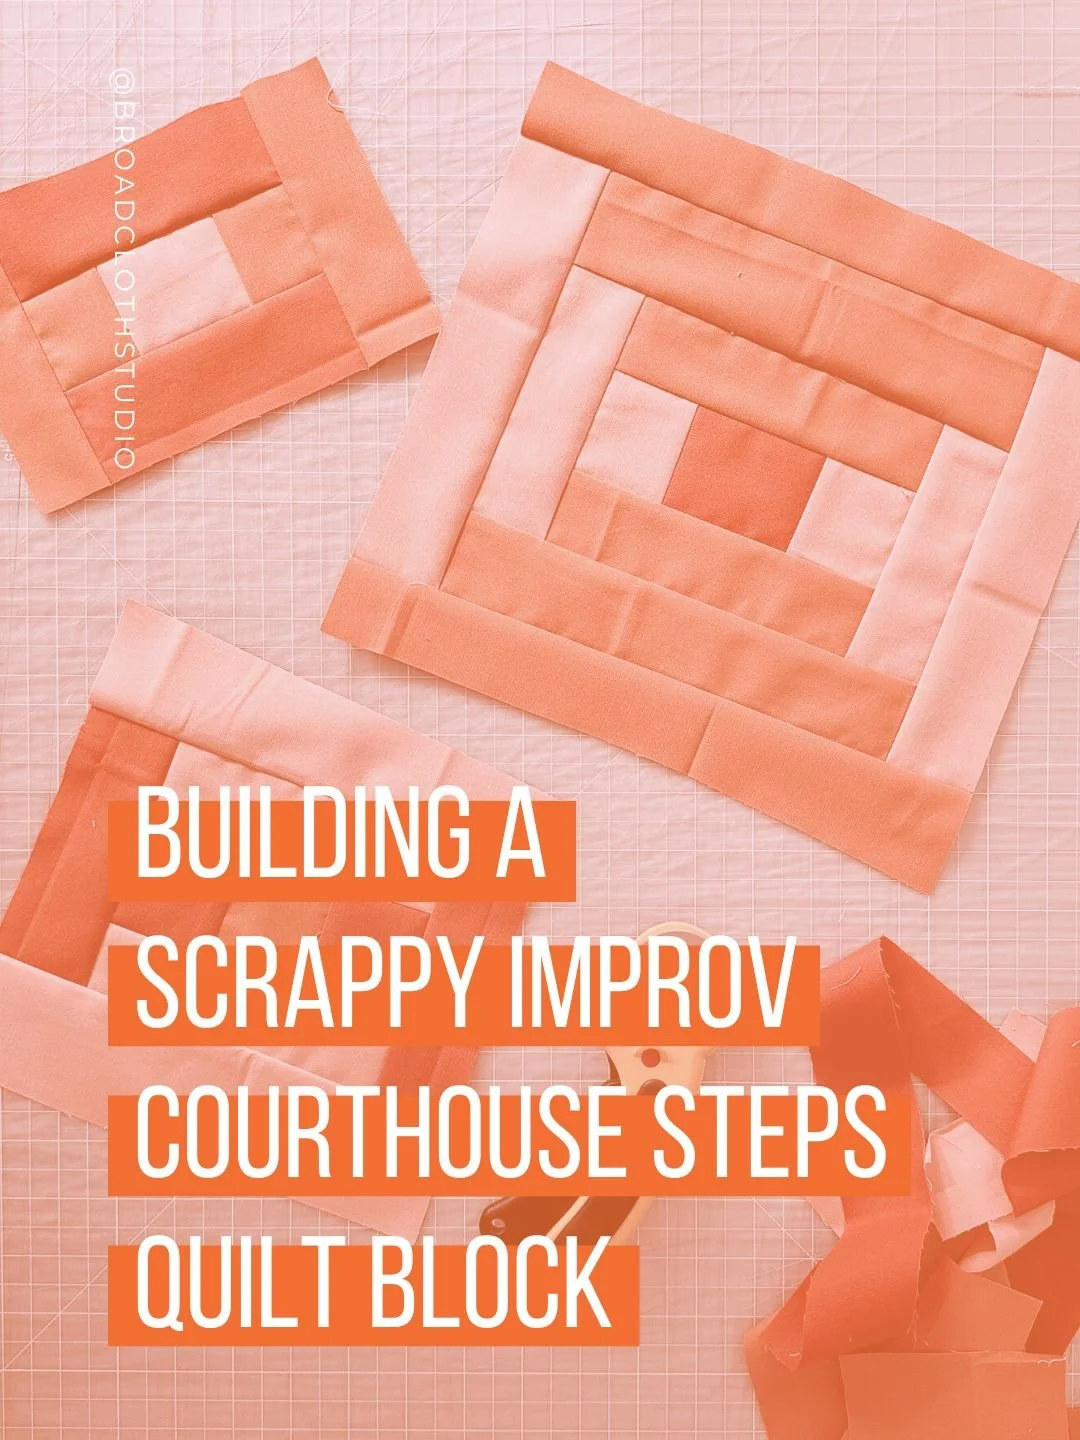
Building a Scrappy Improv Courthouse Steps Quilt
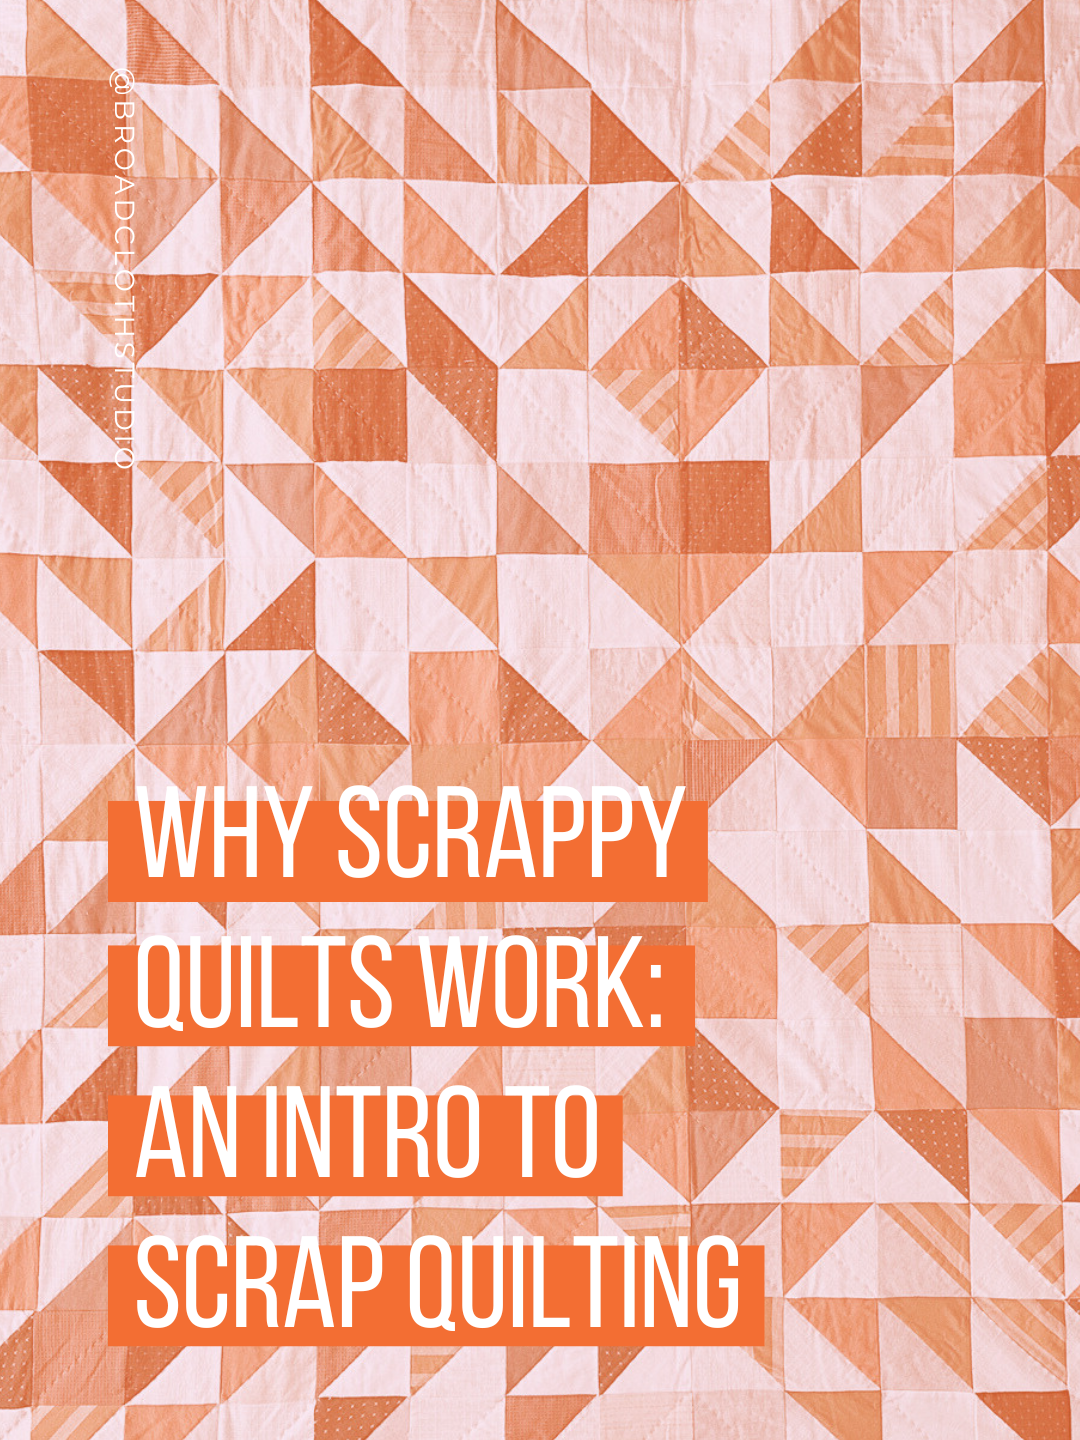
Over the past few weeks, we’ve dug deep into the world of scraps — from understanding why scrappy quilts work, to breaking down fabric roles and proportions, and even tackling how to translate yardage into the scraps you already own. We’ve looked at frameworks, formulas, and strategies.
But what happens when you take all this and dive into the world of improv patchwork?
This week, I want to take everything we’ve learned — the color relationships, the fabric roles, the proportions — and show you what it looks like when those ideas come to life.
Think of this less as a tutorial and more as a case study: how one giant scrappy Courthouse Steps quilt can become a playground for putting color theory, proportion, scraps, and intuition into action.
It’s the perfect bridge between “scrappy with a plan” and “improv with a purpose.”
Why Use the Courthouse Steps as a Playground?
If you’re not familiar with this classic quilt block, the Courthouse Steps is a cousin of the Log Cabin — you add strips to two opposite sides, then the other two sides, and keep building outward in “steps.” And when you scale it up into one oversized block, the effect is bold, graphic, and incredibly forgiving.
That structure makes it the ideal canvas for color play. With each new pair of rounds — sides in one family, top and bottom in another — you can:
see how your color families talk to each other
tweak the proportions between them
play with lighter, softer, or deeper tones to balance the mood
or sneak in a “spice” strip that changes the whole energy
Even within only two main color families and the center square, every seam becomes a little color experiment in motion.

Step One: Defining Balance
Using a monochrome or analogous palette is a beautiful way to explore a single color family or one small slice of the color wheel.
In a quilt pattern, the fabric roles are built into the design — a background that anchors, main fabrics that carry the rhythm, and accents that add spark. But with improv or a single-block quilt like Courthouse Steps, those roles aren’t assigned yet. You’re the one defining them.
When I’m starting a new improv project, I begin with a vision for balance — what kind of energy do I want this quilt to have?
Am I after high contrast — one bold, vibrant color family against something calm and grounding? Or a softer, low-contrast mix where everything blends and hums together?
Once I’ve named that, I look through my scraps with that vision in mind. I’m not just pulling what looks pretty — I’m choosing the pairs and families that serve that balance and create the feel I want. Simple, intentional, and full of possibility.
>>> Want to revisit how these roles function in a structured design? See A Fabric Framework for Scrappy Sewing. Then come back here to see how those same ideas evolve once you’re the one writing the “pattern.”
Need Help Picking a Palette?
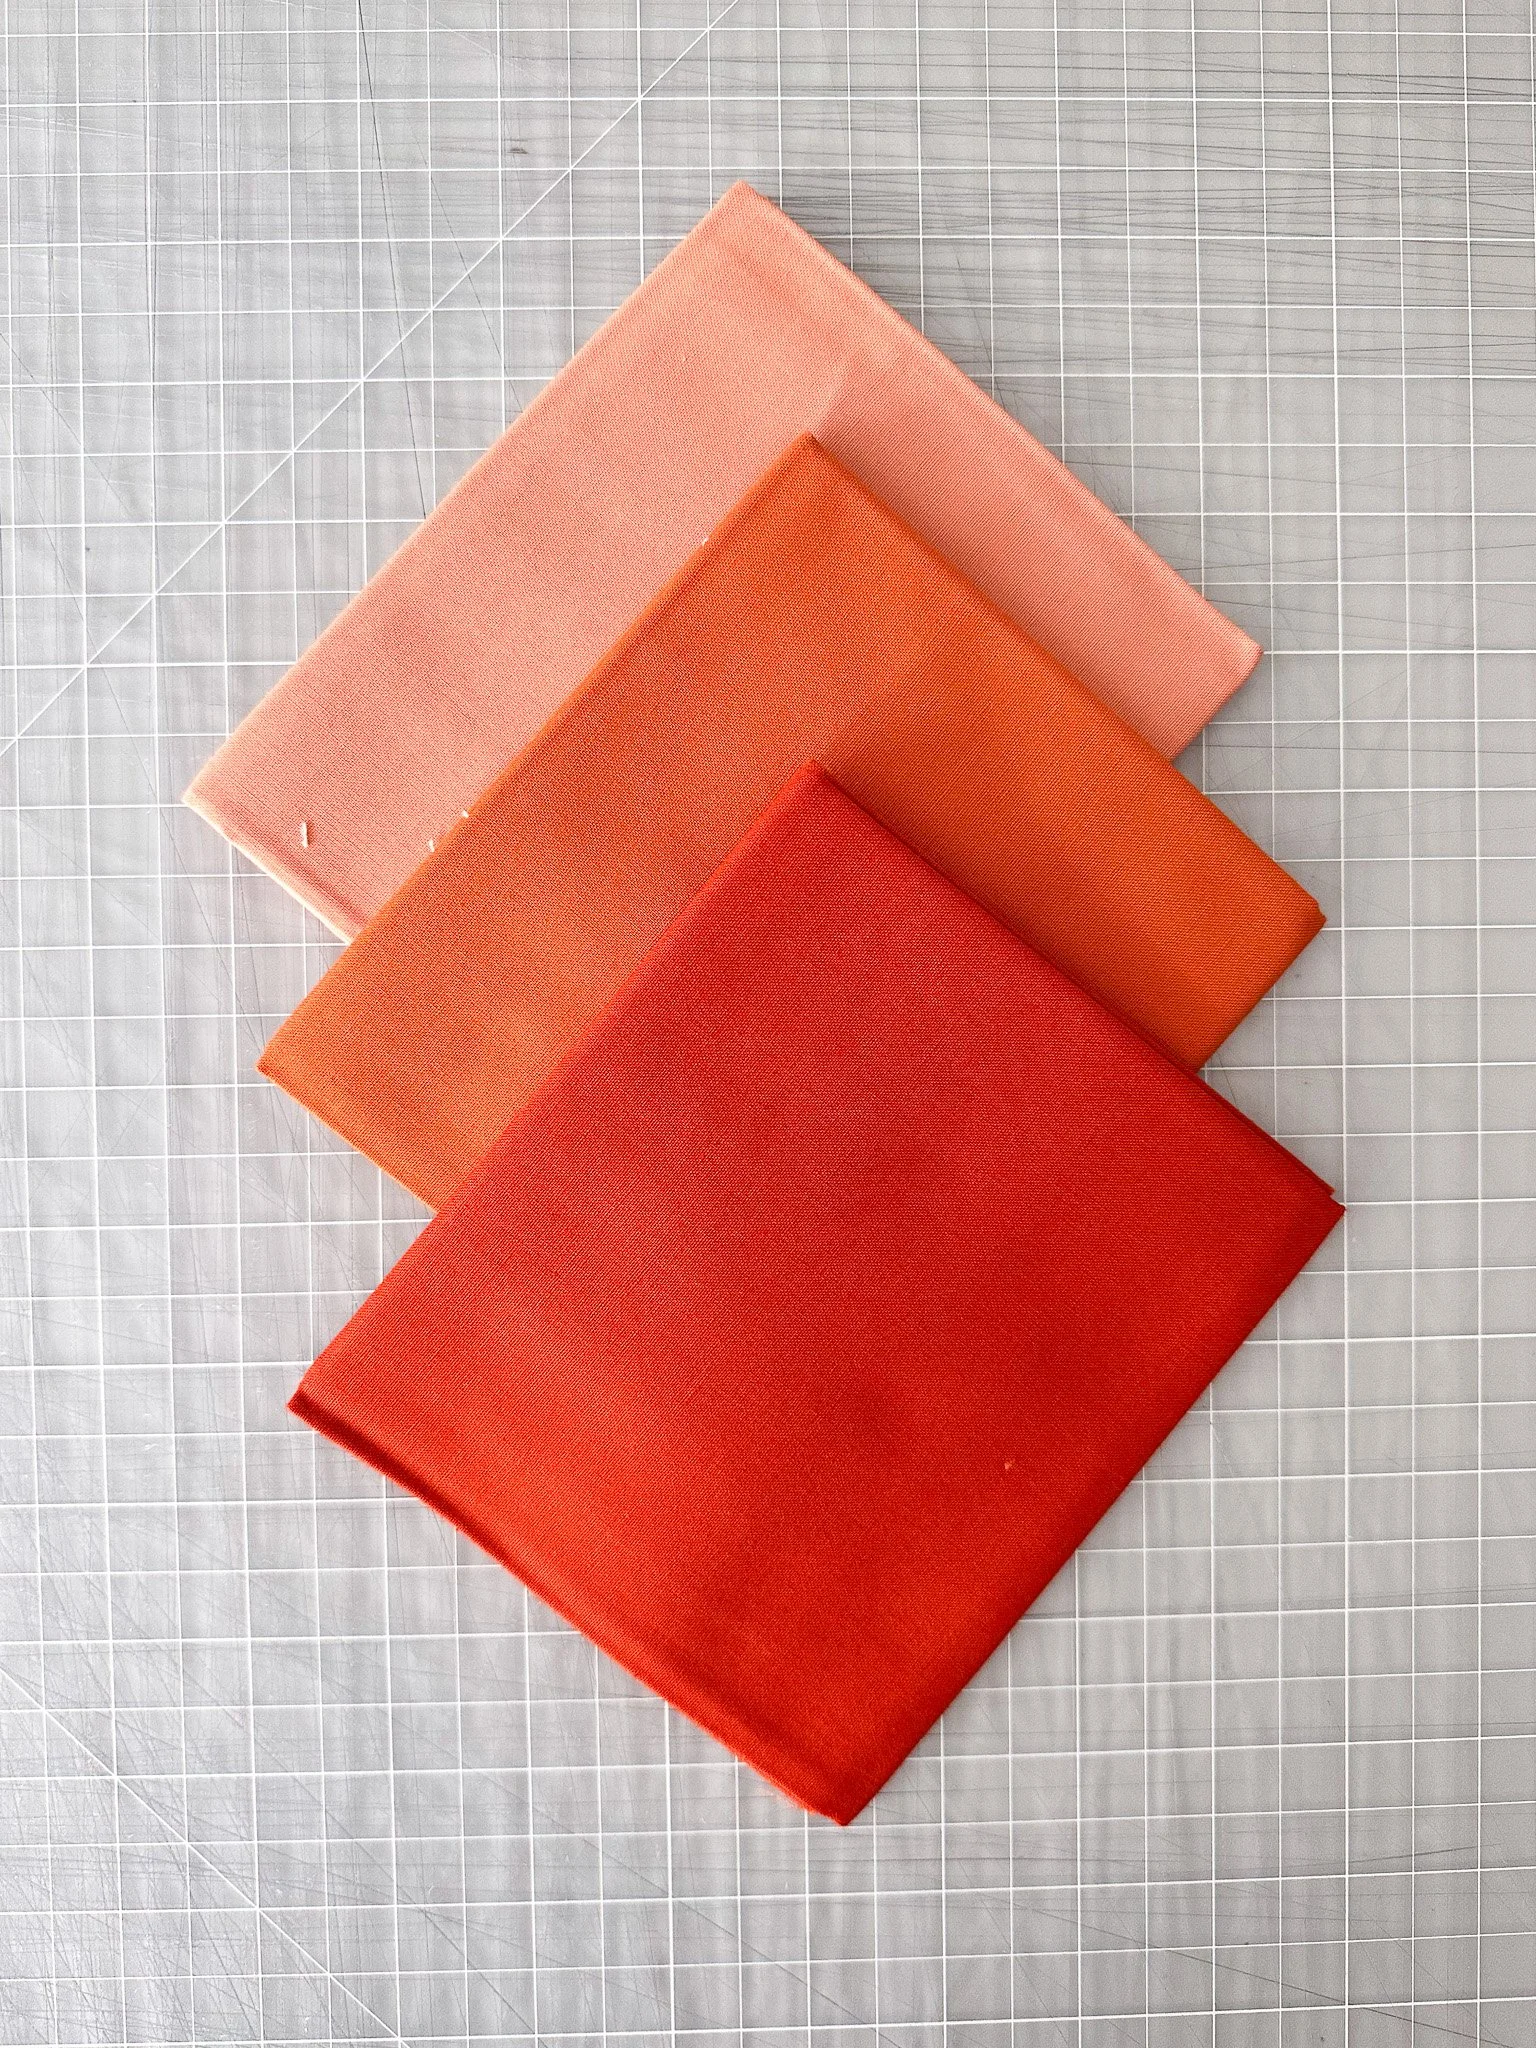
When too many scraps are calling my name — or nothing’s sparking — sometimes I’ll “simplify” things by going tightening the color palette. Scrappy improv Courthouse Steps blocks are a great way for a deep dive into a smaller slice of the color wheel. Try:
Monochrome with a twist: staying mostly within one hue (say, all blues or all corals) and then sneaking in one fabric that breaks the mood just enough to wake things up.
Analogous drift: neighboring colors on the wheel — like golds melting into corals into pinks — where one shade just naturally leads to the next. It’s calm, soft, and easy on the eyes, but still full of life.
And if these aren’t speaking to me, I’ll pop open Adobe Color or spin my color wheel for a few minutes — just enough to remember how many ways a palette can shift. Then it’s back to the scraps to see what those ideas look like in fabric!
Step Two: Make Sure You Have Enough to Play
Before you sew, lay everything out flat — no need to order it, just spread your fabric to see what you’ve got. This quick visual check snapshot does a lot at once:
Yardage check: Are your A (side) and B (top/bottom) families roughly equal in volume? Plan on a little extra B — those steps tend to use a little more fabric.
Size sense: Expect to lose about 25 percent to seams and trimming (a bit more if your cuts are very irregular). That gives you a ballpark sense of how big your finished quilt can get.
Reality check: If one color pile looks thin, don’t panic — pivot. You can:
Shift your palette: Add fabrics from a neighboring hue to stretch that family.
Change your target size: Stop when you run out of fabric, rather than aiming for a preset dimension.
Just remember that you don’t get too fussy — it’s improv! This step isn’t about calculating; it’s about orienting yourself before you dive in. Laying everything out makes the invisible visible: you’ll instantly see where you have abundance, where you’re short, and how much freedom you’ve got to play.
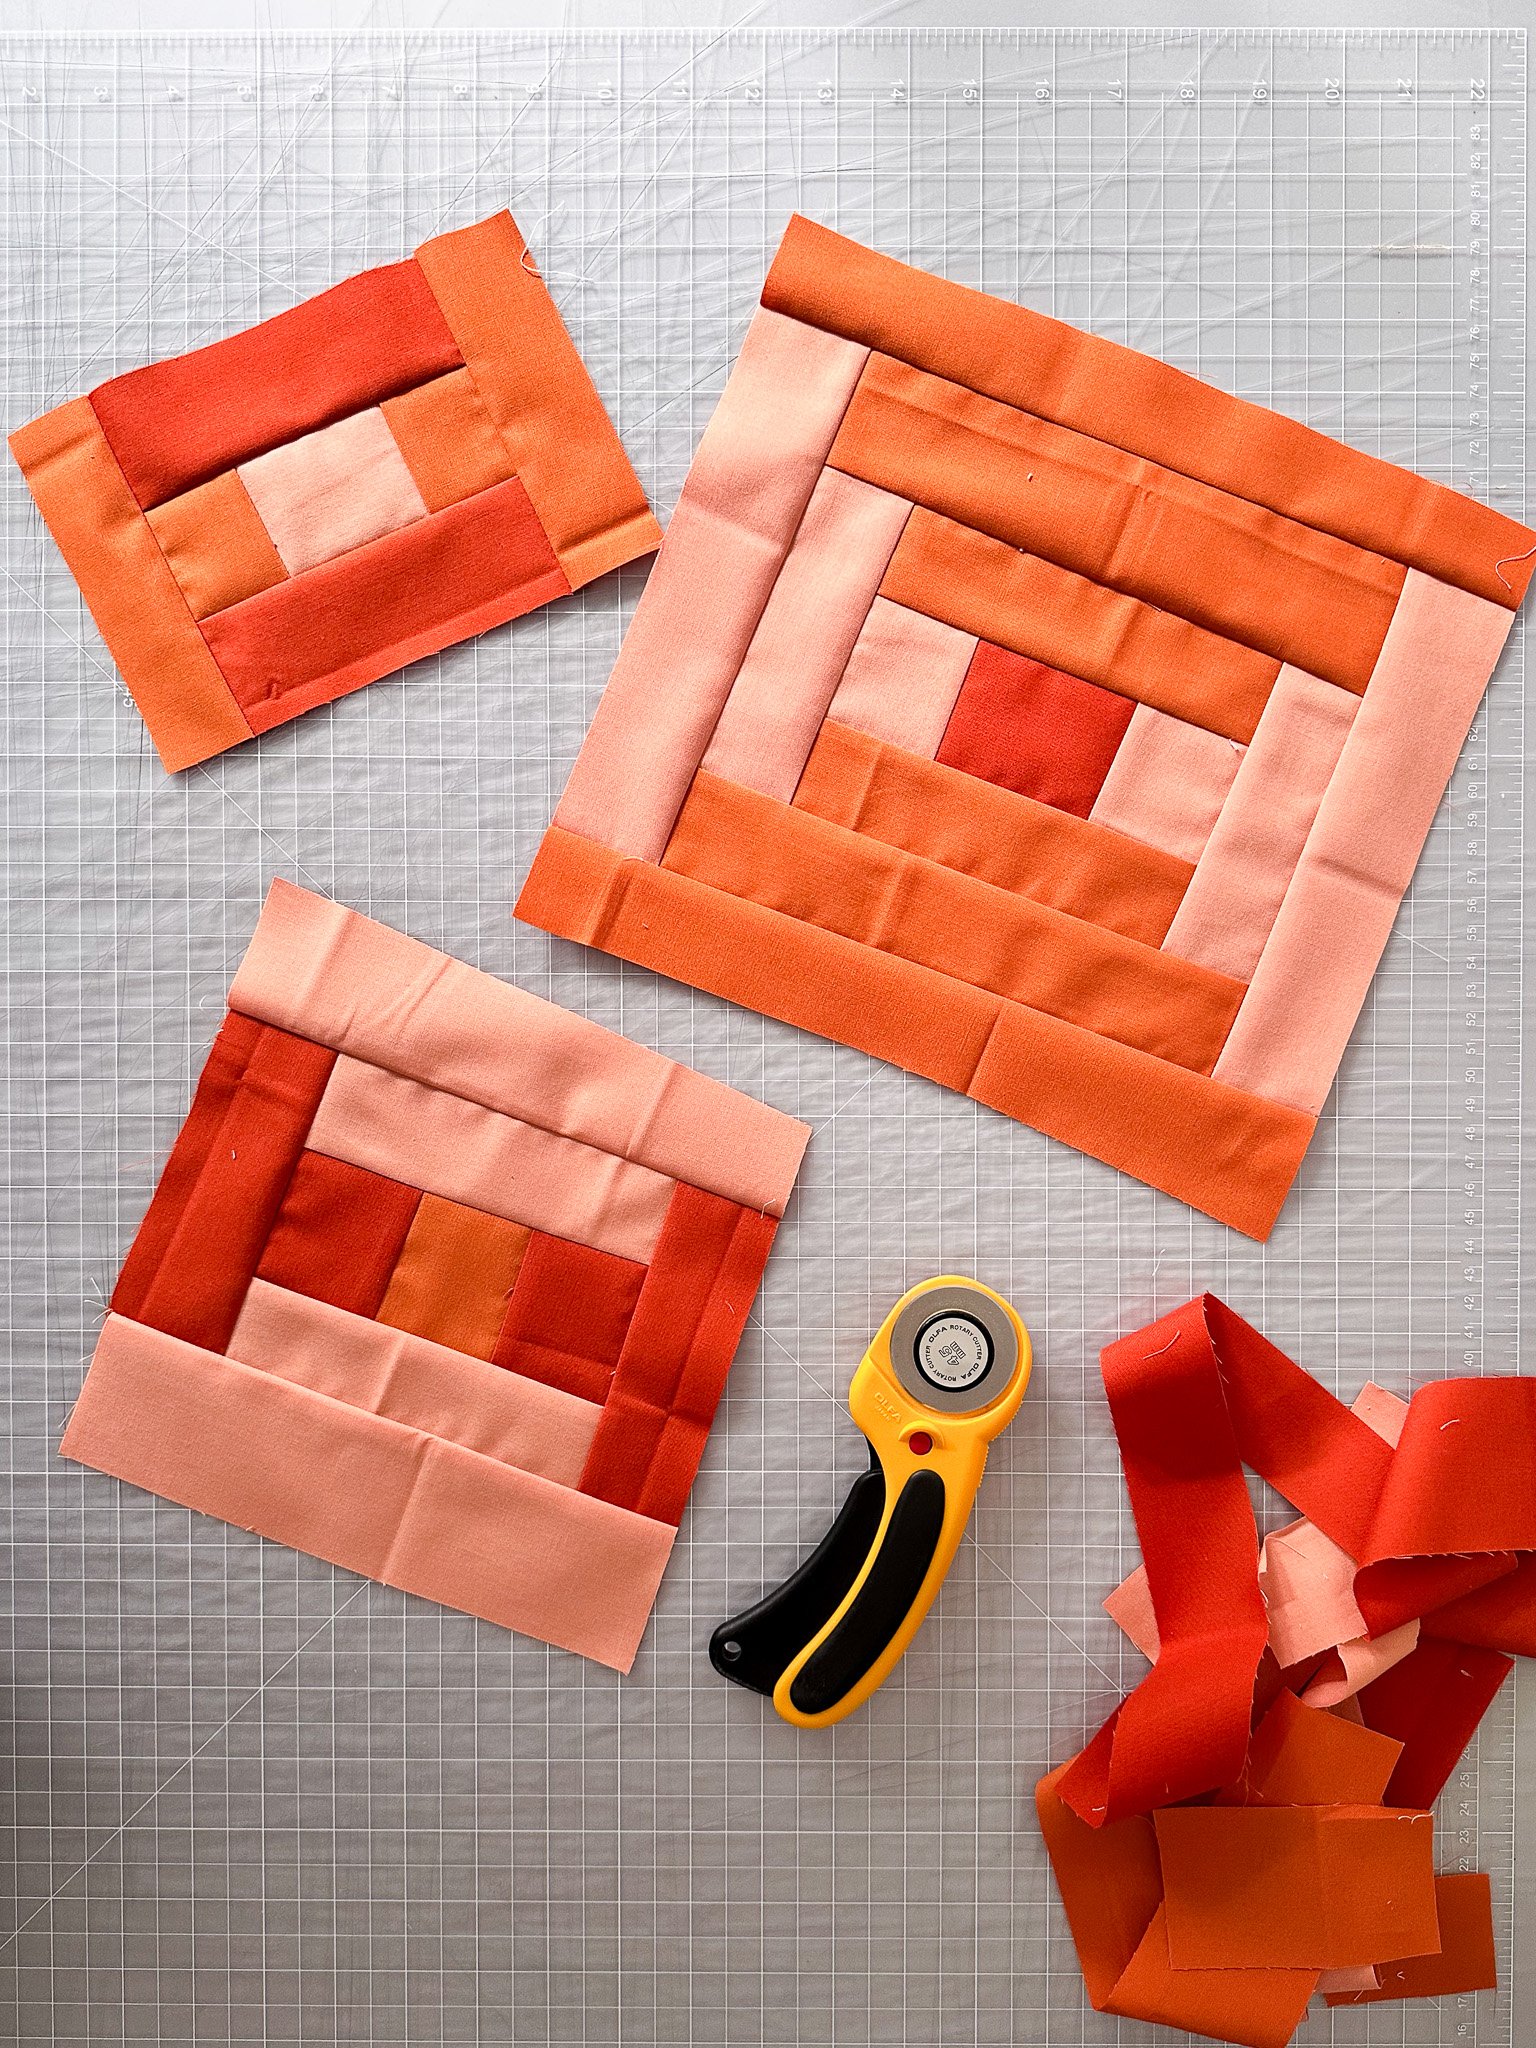
Step Three: Audition as You Build
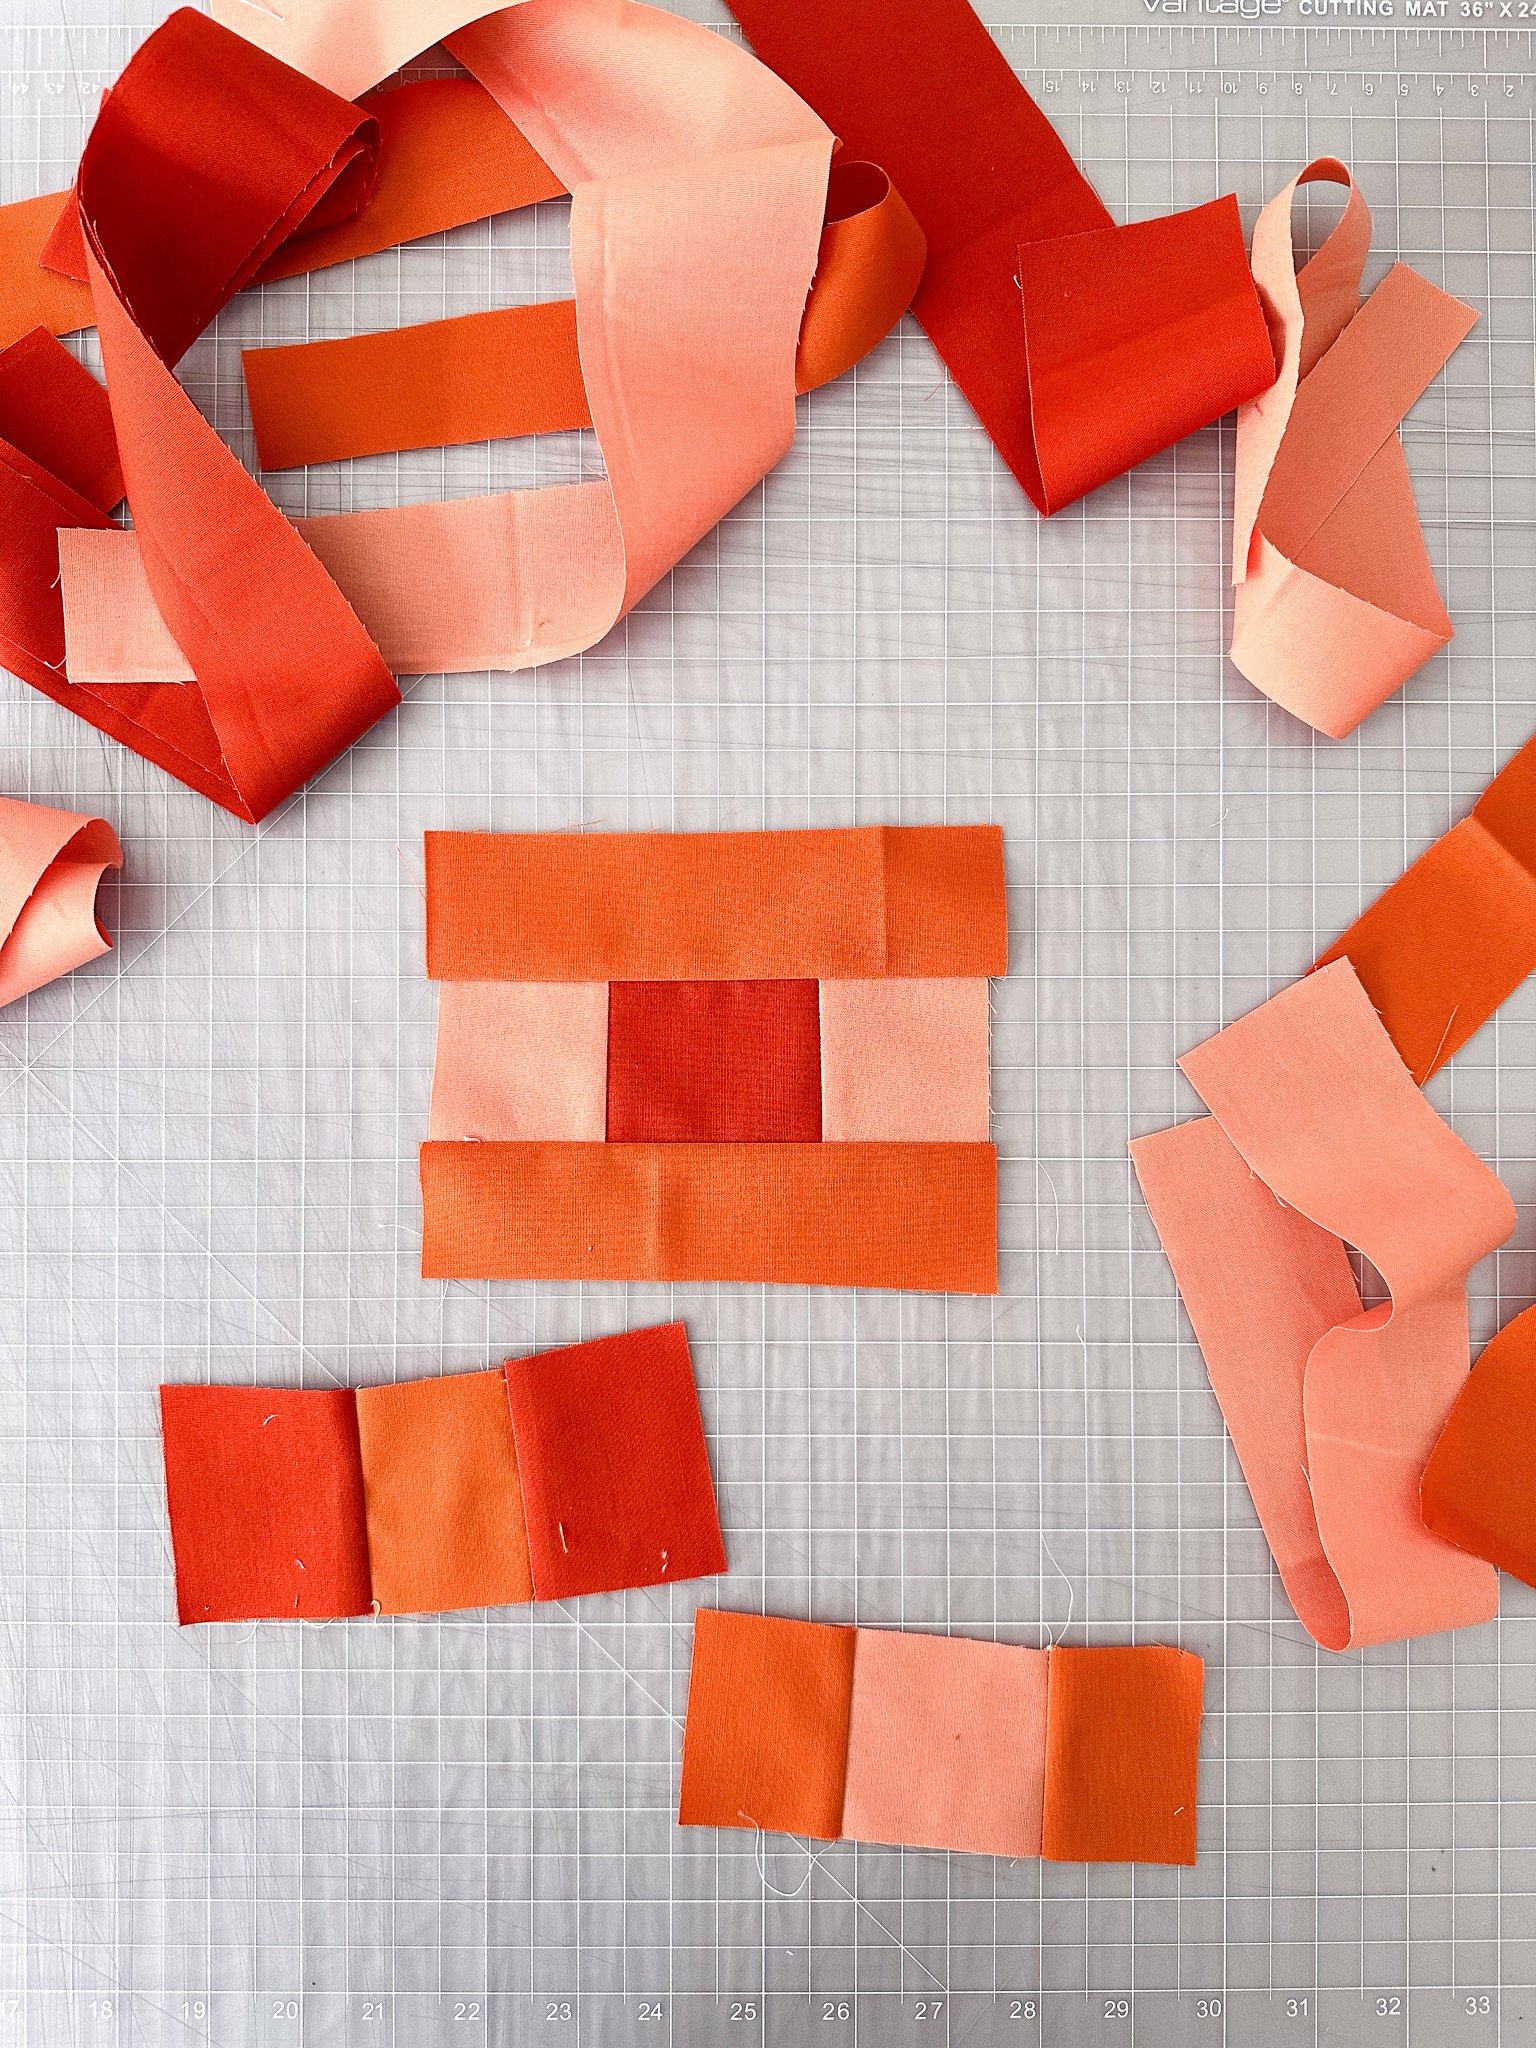
This is one of my favorite ways to explore proportion: take the same three colors, but rotate their roles — center, sides, top/bottom — and see how the composition changes.
Once I’ve taken that snapshot, I’m ready to sew. Before I start, I’ll often lay out my scraps in a loose Courthouse Steps layout — not to lock anything in, just to get a feel for how my two color families are playing together. Seeing everything spread out helps me notice the mix of values, where the color weight sits, and whether one family’s already taking over.
Then I start building out from the center, alternating between the two color families — sides, then top and bottom — and letting the quilt tell me what it needs next. After every round or two, I pause and check in:
Is the balance holding, or do I want to skew it?
Do I need to mix up the values to add contrast or calm things down?
Would changing the width of the next strip shift the rhythm in an interesting way?
You can be as intentional (or not) as you like with the width of your steps. Trim scraps to a set width, use them as-is, or cut a loose pile and pull at random. Square up as you go, or keep it loose by freehand cutting-to-match — it’s all up to you.
As your steps get longer — or when you start to run low — sew shorter scraps end-to-end to “lengthen” a strip, then trim flush after attaching. You can even make one long strip, sew, trim, and keep going until it’s gone.
And sometimes, every so often, I’ll slip in a pop of an accent color — just enough to wake things up without breaking the flow.
There’s no formula here. It’s about staying in conversation with the quilt — laying things out, sewing, stepping back, and responding to what’s happening in real time.
Step Four: Adjust Mid-Project
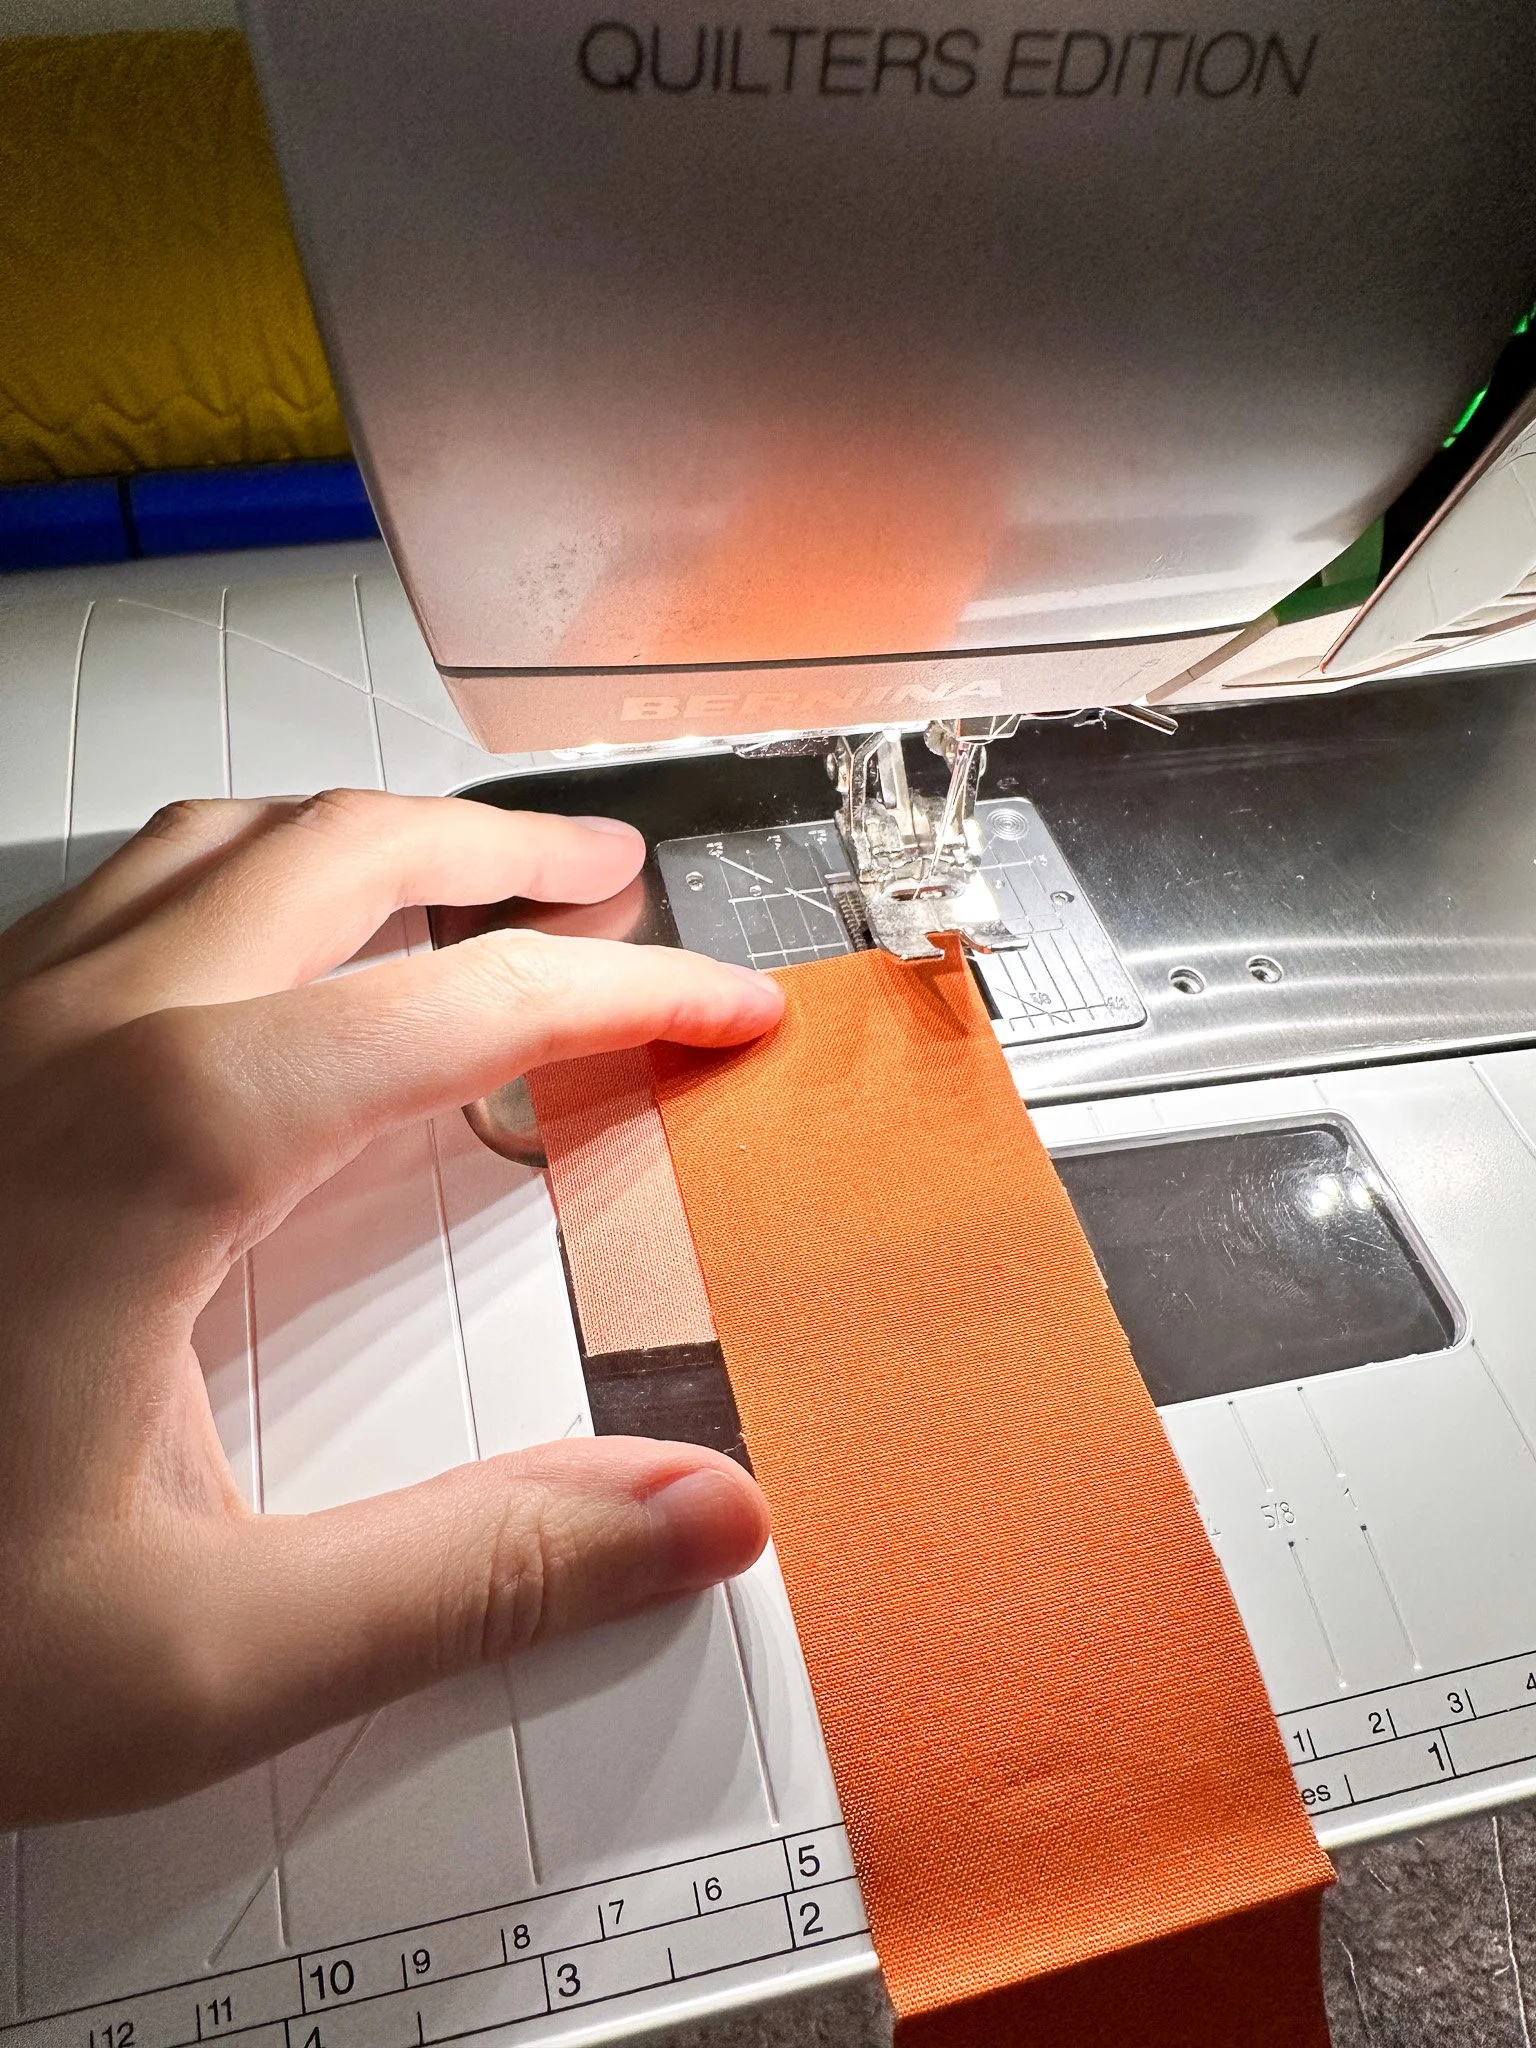
No need to pre-trim, just sew, then trim to fit. Don’t worry about precision here; that’s not the goal of this exercise. Stay in the flow and let the quilt unfold as it grows!
The beauty of improv is that it keeps unfolding. Each new round changes how everything else looks, and that’s part of the process.
After a few rounds, I’ll take a step back (or snap a quick photo) to see the bigger picture. A photo flattens everything and helps me spot what my eye might miss in person: is the center starting to disappear? Have all my fabrics drifted into the same midtone range? Does one color family suddenly feel heavier than the other?
When something feels off, I have options:
Shift the balance: Brighten or deepen the next strips to bring contrast back.
Echo or bridge: Pull in a neighboring color to connect two families or smooth a transition.
Rework it: Unpick a strip or two if it’s really throwing things off — it’s worth it.
Nothing in improv is wasted — every small adjustment teaches you something about how color and proportion interact. Every round is just another chance to refine the rhythm and keep the conversation going between you and the quilt.
Experiment with different block sizes as color studies to see how your palette shifts…or keep building until you run out of fabric!
Step Five: Know When to Stop
With Courthouse Steps, the quilt keeps growing until you tell it to stop (or you run out of fabric!).
Sometimes I’ll stop because the proportions feel right or the color story has come full circle. Other times, I realize I’m running low on one color family and let that constraint set the boundary. Either way, the decision is often visual and instinctive, not mathematical.
Put It into Practice
Want to try this method for yourself?
Grab my Scrappy Courthouse Steps One-Pager — it distills everything from this post into a quick, printable reference. It’s designed to sit beside your machine so you can glance, sew, and keep going — no overthinking required.
Ready for Your Next Improv Playground?

Discover how far one shape can take you.
L-Shape Studies is your entry point into modular improvisation—a hands-on playbook with guided prompts and printable templates to help you brainstorm, cut, and build with confidence. Learn the shape, remix it, and create bold layouts that rotate, shift, and fit together into endlessly unique quilts.
Whether you’re feeling stuck or fired up, this playbook gives you a simple shape with limitless potential and a creative process you’ll want to return to again and again.
Why You'll Love It
Modular improv, made approachable: Start with one shape and explore layout after layout without overthinking
Clear, flexible layouts: Includes crib, throw, and mini quilt guides to help you scale up or down with ease
Sketch-first, cut-later: Printable templates and planning prompts support you from brainstorm to binding
Confident construction: Freehand cutting tips plus step-by-step video demos to guide you through each shape
Details
Instant download PDF
Skill level: Adventurous Beginner to Easy Intermediate
Standard American terms and measurements
Includes access to companion video tutorials
Includes mini (~ 8½" x 11" ea.), crib (~33" x 42"), and throw (49½” x 62") layout options
© 2025 Broadcloth Studio. All Rights reserved. Resell of finished product with pattern credit allowed.
If you loved the rhythm and color play of Courthouse Steps, you’ll love my L-Shape Studies Playbook. It’s your entry point into modular improvisation — a hands-on guide packed with printable coloring sheets, prompts, and layout ideas that show just how far one simple shape can take you.
You’ll learn to:
Remix one shape into countless variations that rotate, shift, and nest together.
Plan with confidence, using sketch-first coloring sheets.
Build freely, with freehand cutting tips and step-by-step video demos that make construction feel intuitive.
Whether you’re feeling stuck or fired up, L-Shape Studies gives you a simple framework with limitless potential — the perfect next step after this Courthouse Steps experiment.
You May Also Enjoy These Quilting Tips and Guides: