Making Sense of Scrap Quilt Math: A Step-by-Step Guide
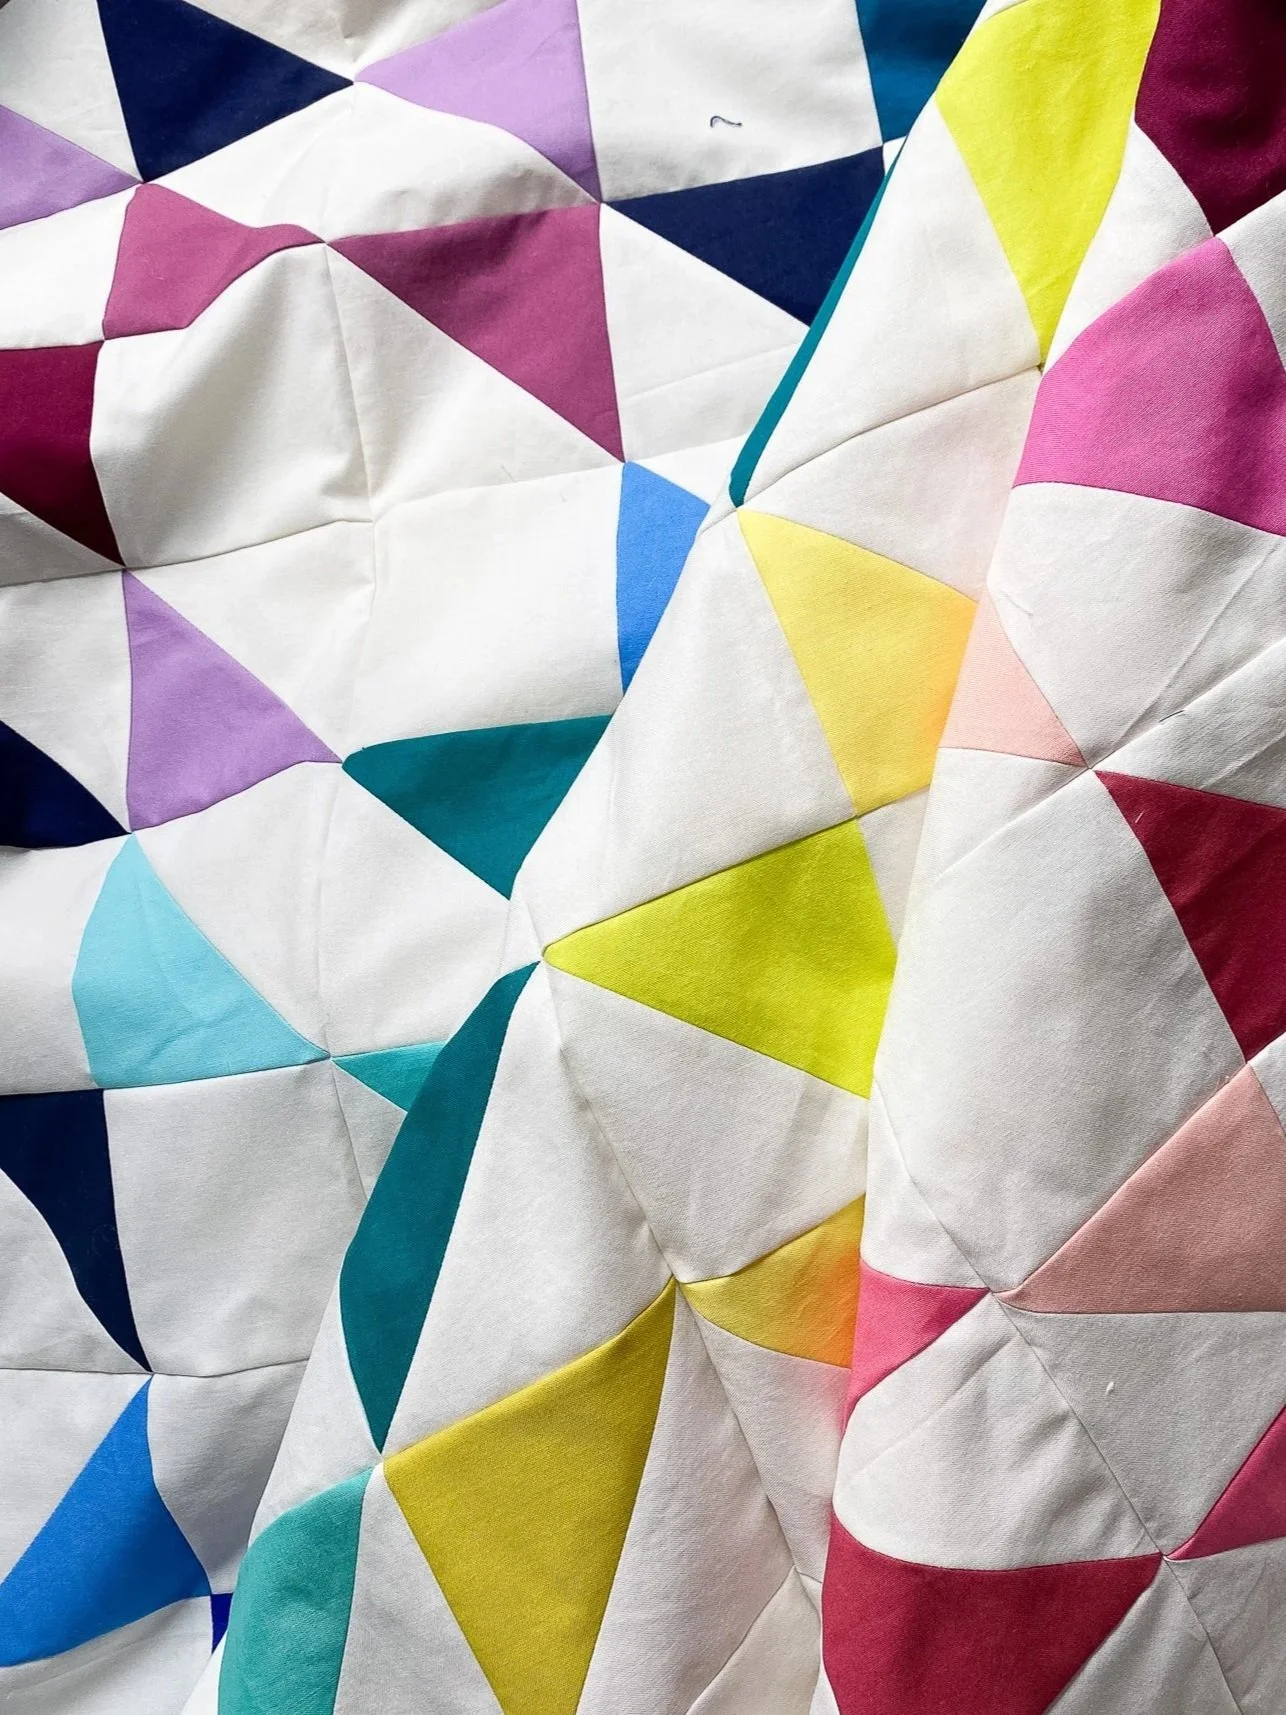
Who doesn’t love a rainbow of scrappy triangles???
You’ve fallen in love with a pattern. You’re thinking it’d be fantastic scrappy. But, it calls for 2¾ yards of background fabric and five fat quarters for accents.
You look at your stash. You’ve got a happy jumble of half-yards, a couple of truly random fat quarters, and a pile of oddly-shaped leftovers.
Which begs the question: do you have enough fabric to make the quilt? Do you need to measure every scrap? Do a lot of fancy math? How do you even begin to make sense of getting from here to there?
This week we’re tackling all these questions. We’ll walk through how to take a pattern’s fabric requirements and translate them into scraps you (might just) already own.
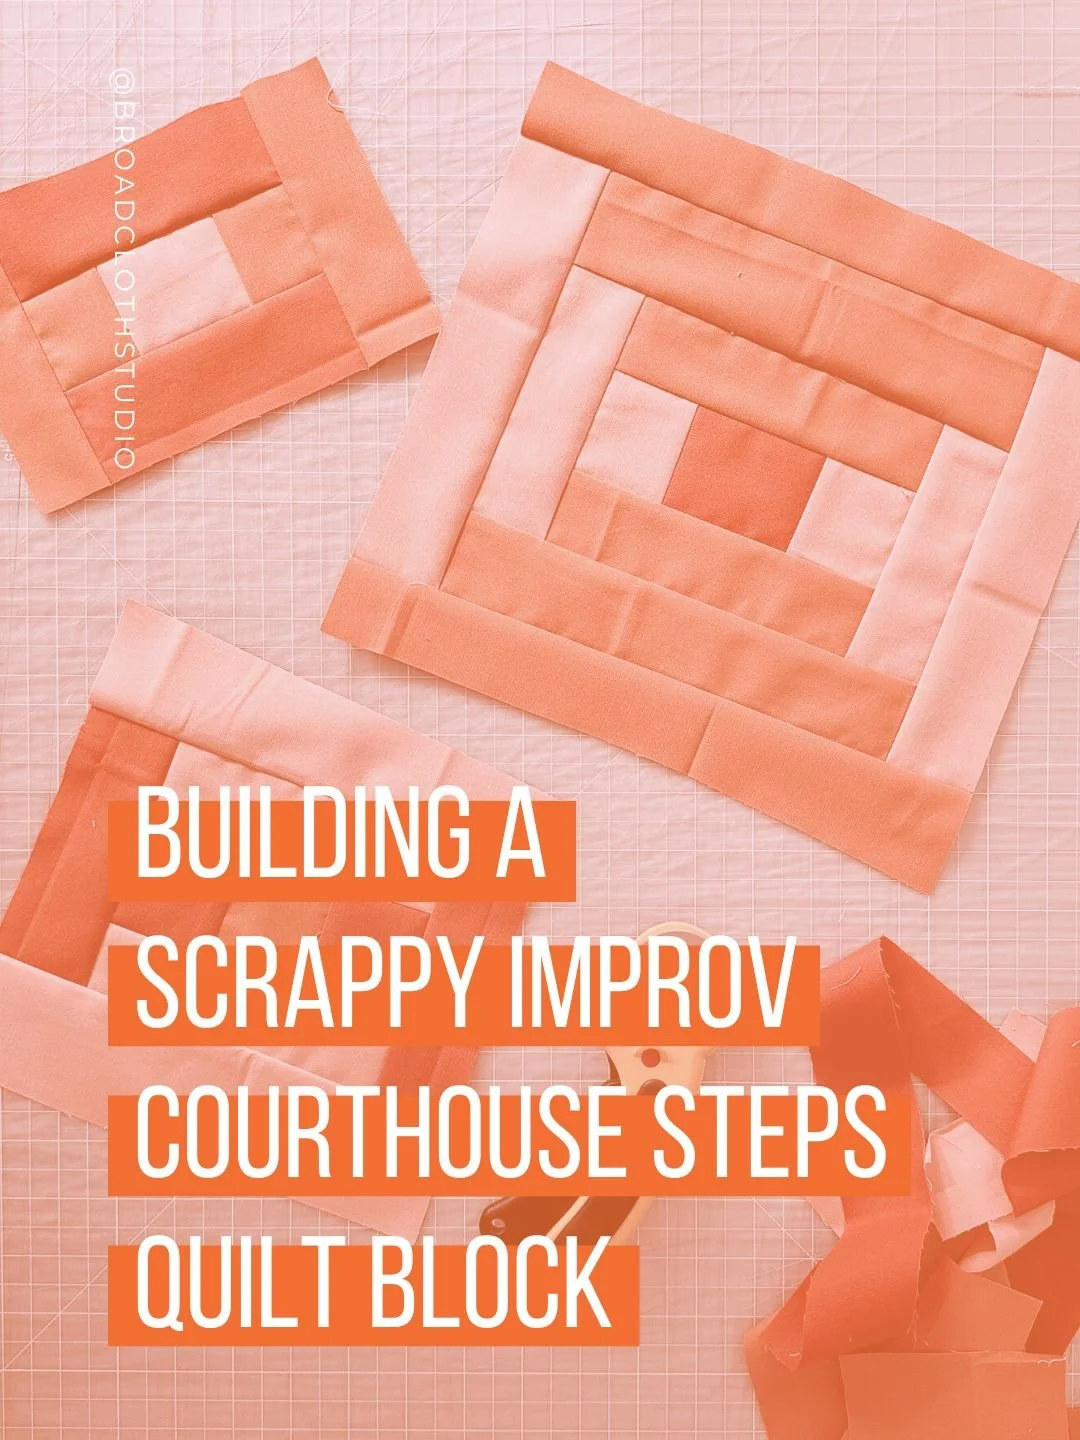
This process works with any pattern you already have — it’s simply about understanding how to translate its yardage into the fabric you’ve got on hand. And if you’d like to practice first, try it with a classic block like a Log Cabin, Broken Dishes, or Hourglass — they’re perfect for experimenting without pressure.
Grab a pattern, grab some scrap paper, a pen, and a calculator: it’s time to do a little quilt math!
Step 1: Read the Pattern
Every pattern provides information in different ways, but it really all comes down to a couple core buckets:
Materials (how much fabric you’ll need)
Cutting Instructions (how many pieces you’ll need to cut)
Assembly Instructions (how those pieces will be sewn together)
Layout (the final design)
So Step 1 is to read the pattern through. Don’t get caught up in the cutting instructions, but do take a moment to understand the assembly. Are you making Half Square Triangles two, four, or eight at a time? Are you making Quarter Square Triangles with distinct opposing A/B colors or can it be a riot of colors?
The reason to take a moment to understand the construction is to understand how your scrappy version will look at the end. For example, if you’re making Flying Geese one by one, each corner can be made of a different scrap; if you’re making the four at a time, you’re going to end up with four flying geese with all the same corners, or if you mix up the smaller squares you can get a similar scrappy-variety of the one-by-one method – it all depends on what you want it to look like in the end.
Step 2: Analyze the Layout

Before diving into a more complicated pattern, try following along with a simple classic, like an hourglass quilt!
Once you’ve read through the pattern, it’s time to jot down the different blocks and/or sub-units you’ll be making and what starting pieces go into each. When I’m breaking down a pattern, I find it easiest to work backwards, starting with the layout, then the assembly.
Let’s use a simple example: a classic Hourglass quilt (you can find a free pattern here).
Layout: This pattern is made up of three blocks:
Corner Blocks (“blank” background squares)
Edge Blocks (only one corner has a triangle)
Inner Blocks (two opposing corners have a triangle)
Assembly: these blocks are each assembled from the following pieces as follows:
Corner Blocks: one large square
Edge Blocks: one large square + one snowballed corner square
Inner Blocks: one large square + two snowballed corner squares
With that simple breakdown, we understand the underlying construction of the layout and the assembly needed to get there. Now it’s time to calculate how many starting pieces we’ll need to make the quilt.

Once you break the quilt into blocks, you’ll see you’ve got Edge Blocks…

…and Inner Blocks as well as two “blank” Corner Blocks (not pictured here).
Step 3: Do the Math (the Easy Way)
Some patterns will tell you exactly how many pieces to cut — e.g., “Cut (128) 2½″ squares.” Others just list what to cut per fabric (“From Fabric A, cut sixteen 2½″ squares”). Either way, it still helps to do a quick tally or work backward from the block layout to get a total count for each size of piece. That way, you know exactly what your scraps need to cover — and where they’ll show up in the final quilt.
Maybe those 6½″ squares appear in two places (corners and centers); maybe you can combine their totals into one cutting pile. Or maybe you want to save your orange scraps for the corners and your blues for the centers. You get the idea — knowing your totals gives you options, whether you’re going for efficiency or intentional color placement.

I like to tally things up by writing directly on a printout or sketch
Using the Hourglass example, let’s walk through doing the math yourself.
For this example, we’re using a hodgepodge of colors for the tiny triangles — placement and color isn’t terribly important. And for the background, the plan is to use the same color (or a mix of similar hues).
Now, no matter what the quilt size, there will only ever be two corner blocks. The quantities of the outer and inner blocks will change with size, but the logic stays the same.
If I’m making a 54″ x 54″ throw-size quilt, I’ll need the following:
(2) Corner Blocks
(30) Edge Blocks
(49) Inner Blocks
I find it easiest to sketch it out to tally up the totals (or use a printed coloring sheet). There’s something about physically ticking things off that makes the process feel real — but do what works best for you. Lists, notes, scribbles — whatever helps you feel confident.
Now, let’s translate those block counts into the total starting pieces:
Each block begins with one large square, so that math is simple:
(2) Corner Blocks + (30) Edge Blocks + (49) Inner Blocks = 81 large squares.
For the smaller snowball corner squares, each Edge Block uses one and each Inner Block uses two:
(30) Edge Blocks + 2 × (49) Inner Blocks = 128 small squares.
So, for the 54″ x 54″ version you’ll need (assuming a 9 x 9 square grid as illustrated above):
(81) 6½″ background squares
(128) 2½″ accent squares
Once you know those totals, it’s time to look at your scrap pile.
Note: Some patterns might give you the total number of pieces to cut, so you may just need to add them up. I like to work backward because it helps me understand not only the starting size but also how those pieces will be used — whether they’re centers, corners, or edges — which matters if you’re being intentional about your color placement or the “role” each fabric will play. (You can read more about fabric roles in this blog post.)
Step 4: See What Your Scraps Can Yield
Pull out a few representative pieces from your stash and see what kind of cuts you’re working with. Is it mainly Fat Quarters? Or odds and ends? Do you have any yardage? And, of course, keep your color palette in mind – don’t pull fabrics that you know you don’t want to work with for this project!
Once you know the size of your scraps, I’d suggest sketching out some cutting illustrations. So, if you’re mainly working with Fat Quarters, draw out how many 6½” squares or 2½” squares you can get from each Fat Quarter. If you’re working with a hodgepodge of smaller scraps, cut out a template of a 6½” square and a 2½” square to quickly see how many of each cut you could get from it.
As you go, start tallying toward your totals, writing it out to help keep track of everything.
For example, for those 81 background squares, you could combine:
10 fat quarters (≈ 60 squares) + a few larger scraps (≈ 21 squares), or
6 half-yards (≈ 75 squares) + one fat quarter (≈ 6 squares).
Or:
3 half-yards → ~36 squares
8 fat quarters → ~48 squares
Total = 84, so you’ve got more than enough!
You don’t need exact numbers, just rough confidence that you’re in the right neighborhood.
Step 5: Eek! Not enough fabric?

For this quilt I had lots of odd cuts of Kona Avocado, but they made for a cohesive background fabric with a mix of triangles (you can find the free pattern here!).
What happens if you don’t have enough fabric scraps? Time to get a little creative! First, determine “how much am I short?” Then ask yourself:
Are you just a scrap or two off: can you substitute a random color and use it as an artistic pop of color within the quilt?
Are you a Fat Quarter short: is the easiest solution to buy a FQ that fits with your color story?
Are you missing a whole yard of fabric and considering sizing down the final size of the project? If it’s a pattern, maybe you have enough to make a crib size version instead of the throw!
Or do you have enough tiny scraps for the hourglass corners, but nowhere near enough background fabric? Maybe use yardage for just the background fabric!
Now, only you can decide what solution works best for you, but don’t get discouraged before you think through all the different options (as well as what your goal is: do you want to use your scraps? Do you need to make a quilt as a gift asap? etc).
Let’s Recap the Step-by-Step!
Once you understand how to translate yardage into real-world pieces, your scrap bin stops being a mystery and becomes a resource. Whether you’re working from a favorite pattern or a simple classic block, the process is always the same:
Read the pattern
Breakdown the Layout
Understand the Assembly
Breakdown the components
Reverse the math to get your number of total starting pieces
Estimate what your scraps can yield
If you’re short, decide how to proceed
Once you’ve practiced this a few times, you’ll start to see every pattern as a puzzle you already know how to solve — one scrap at a time.
Put the Framework into Practice!
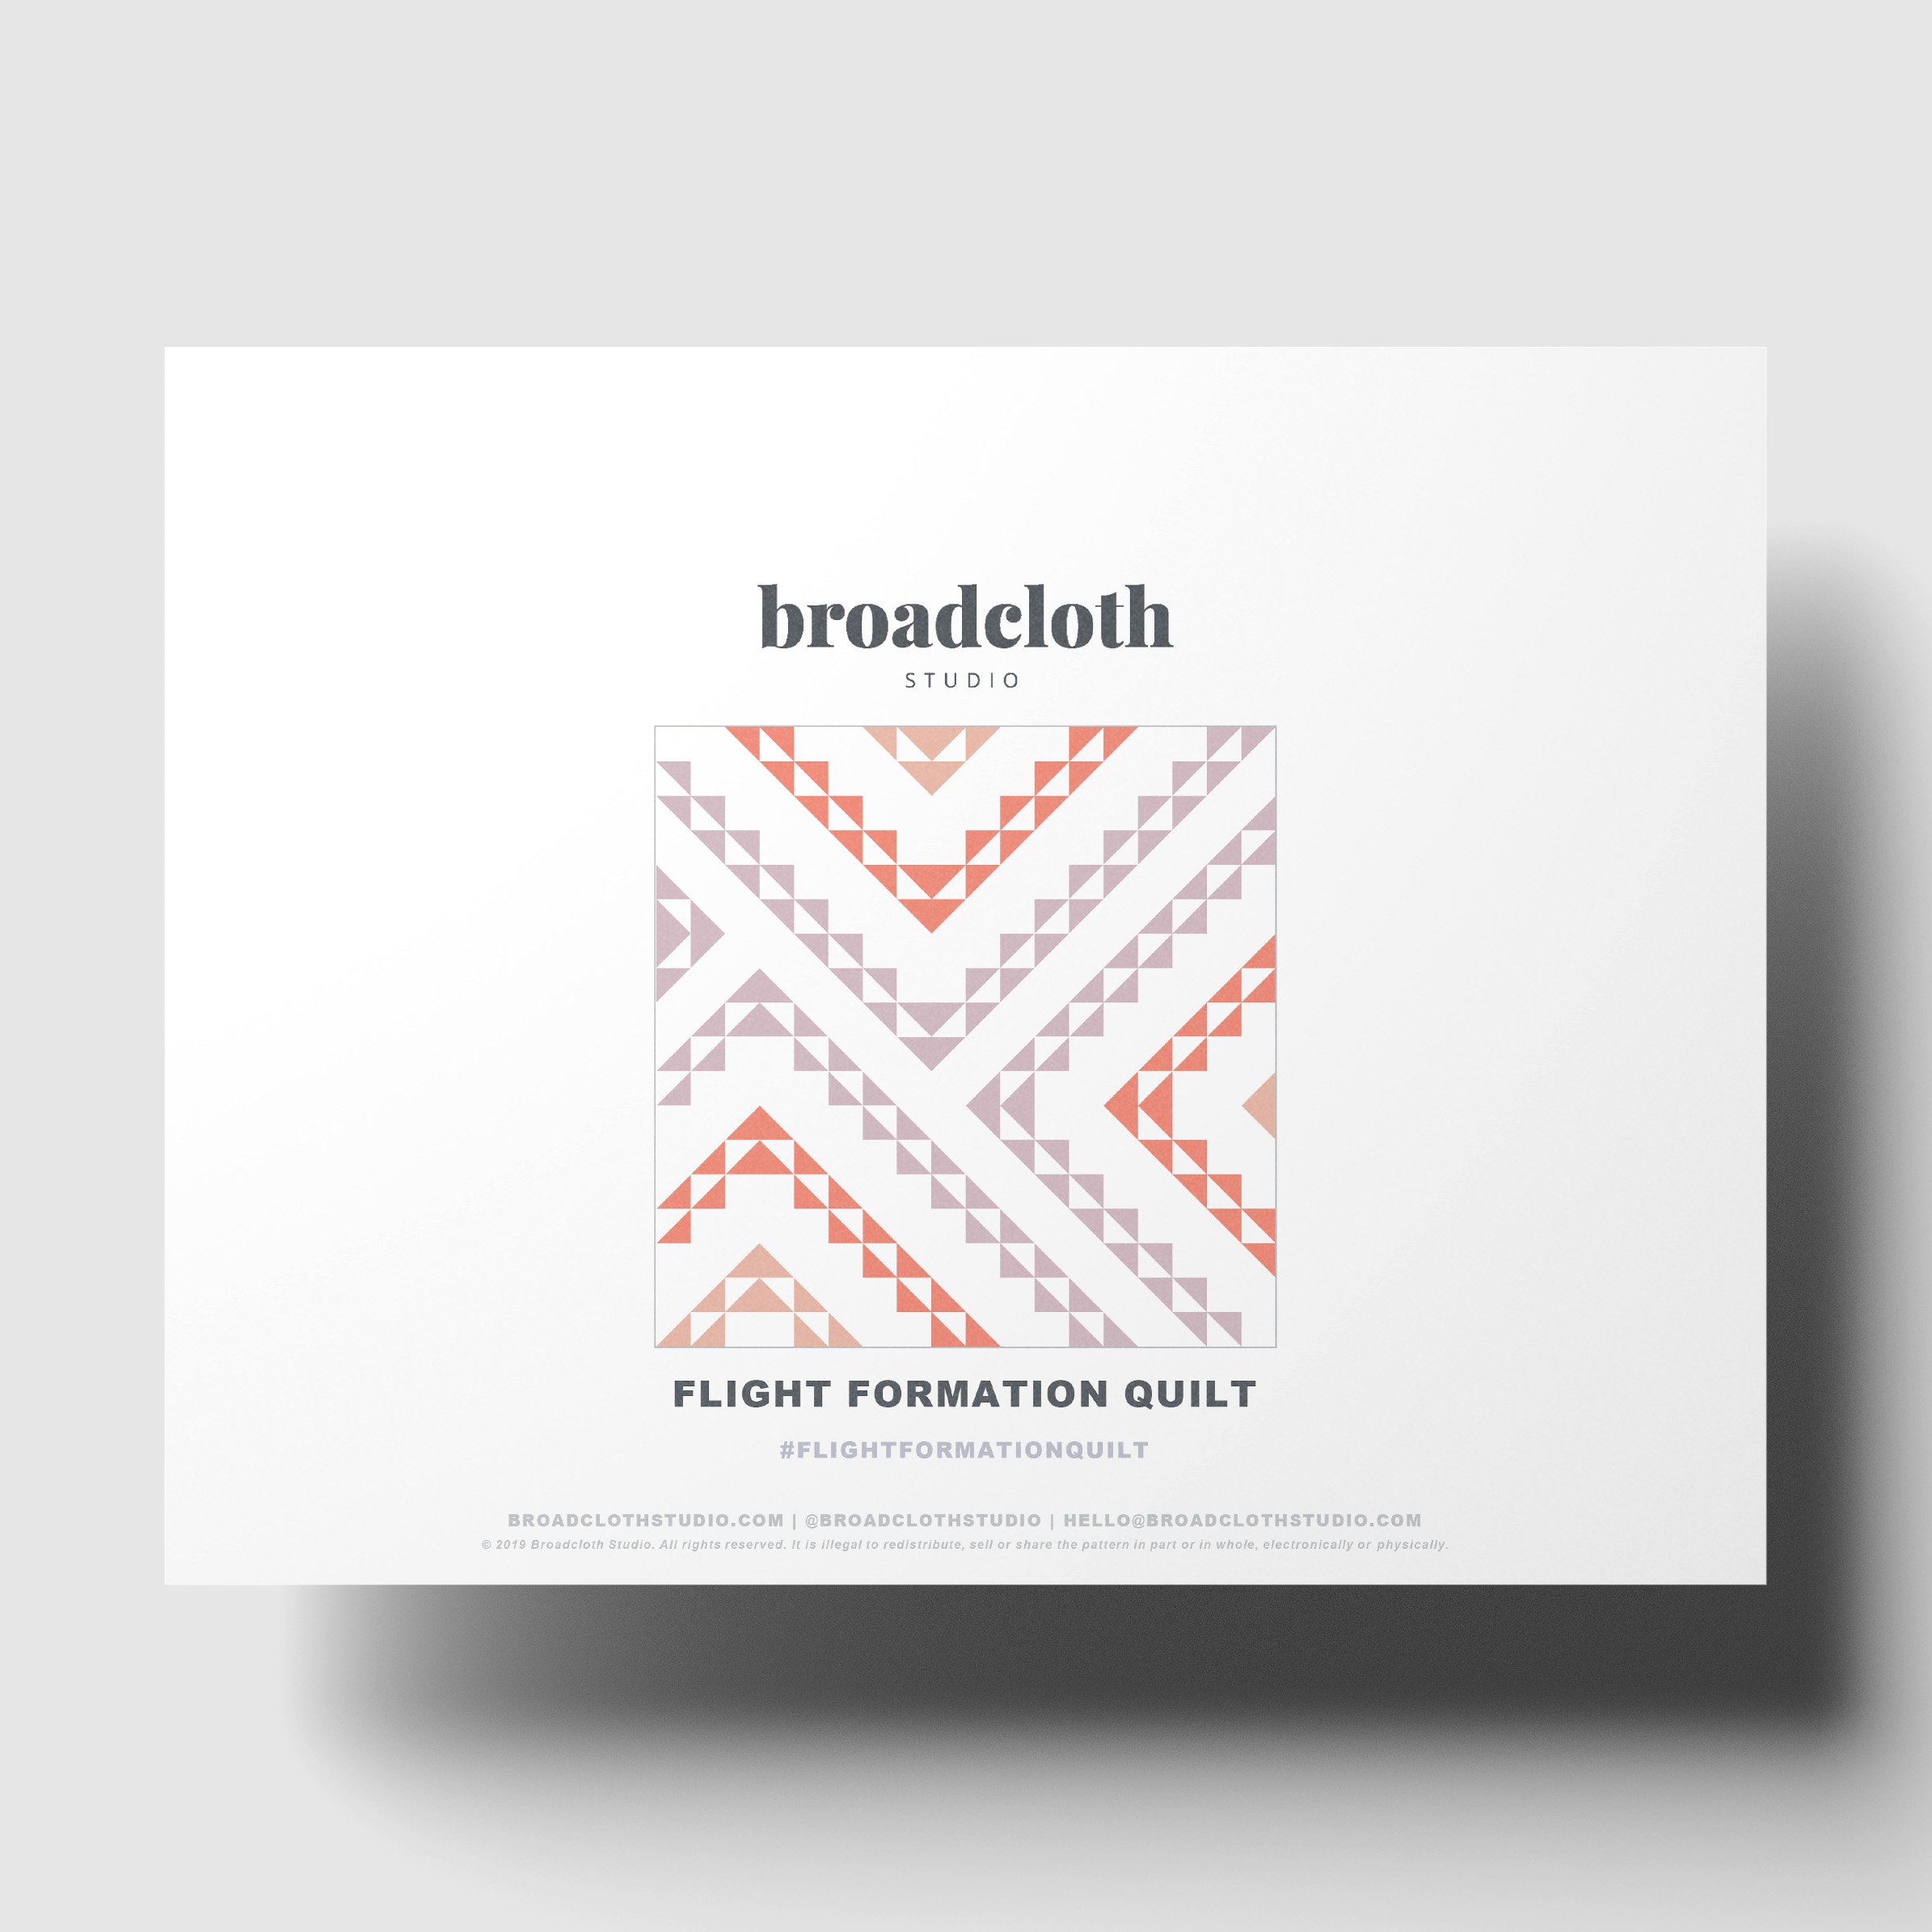
The Flight Formation Quilt Pattern brings a fresh, modern design to your next quilting project, featuring dynamic formations of half square triangles. This striking geometric quilt is made entirely from simple triangles, making it an easy yet unique patchwork project for quilters of all levels. With its bold diagonal layout, this pattern creates a sense of movement and direction, perfect for those seeking quilt design ideas with visual impact.
Whether you’re choosing vibrant colors or sticking to a classic palette, the pattern is flexible enough for you to customize and make your own. Dive into this modern quilt pattern and explore the endless possibilities of working with half square triangles.
• Instant download PDF
• Quilting skill level: Advanced Beginner
• Standard American terms and measurements
• Includes Crib, Square + Rectangle Throw, Twin, Full/Queen, and King size quilt patterns
Resell of finished product with pattern credit allowed.
© 2019 Broadcloth Studio. All Rights reserved.
If you’re looking for a pattern to test this process on, my Flight Formation Quilt is a great place to start.
It’s a bold, modern design built entirely from half-square triangles and a handful of repeating background pieces. With its clean diagonal layout and steady background, it’s easy to map out how many of each square you’ll need and then see how your scraps measure up.
Use today’s method to break the pattern down: how many background pieces? how many smaller HST units? where do your main and accent fabrics fit in?
It’s a great pattern that makes the “yardage-to-scraps” math feel approachable — and the end result is always fresh, graphic, and uniquely yours.
Check the pattern out here.
You May Also Enjoy These Quilting Tips and Guides: