

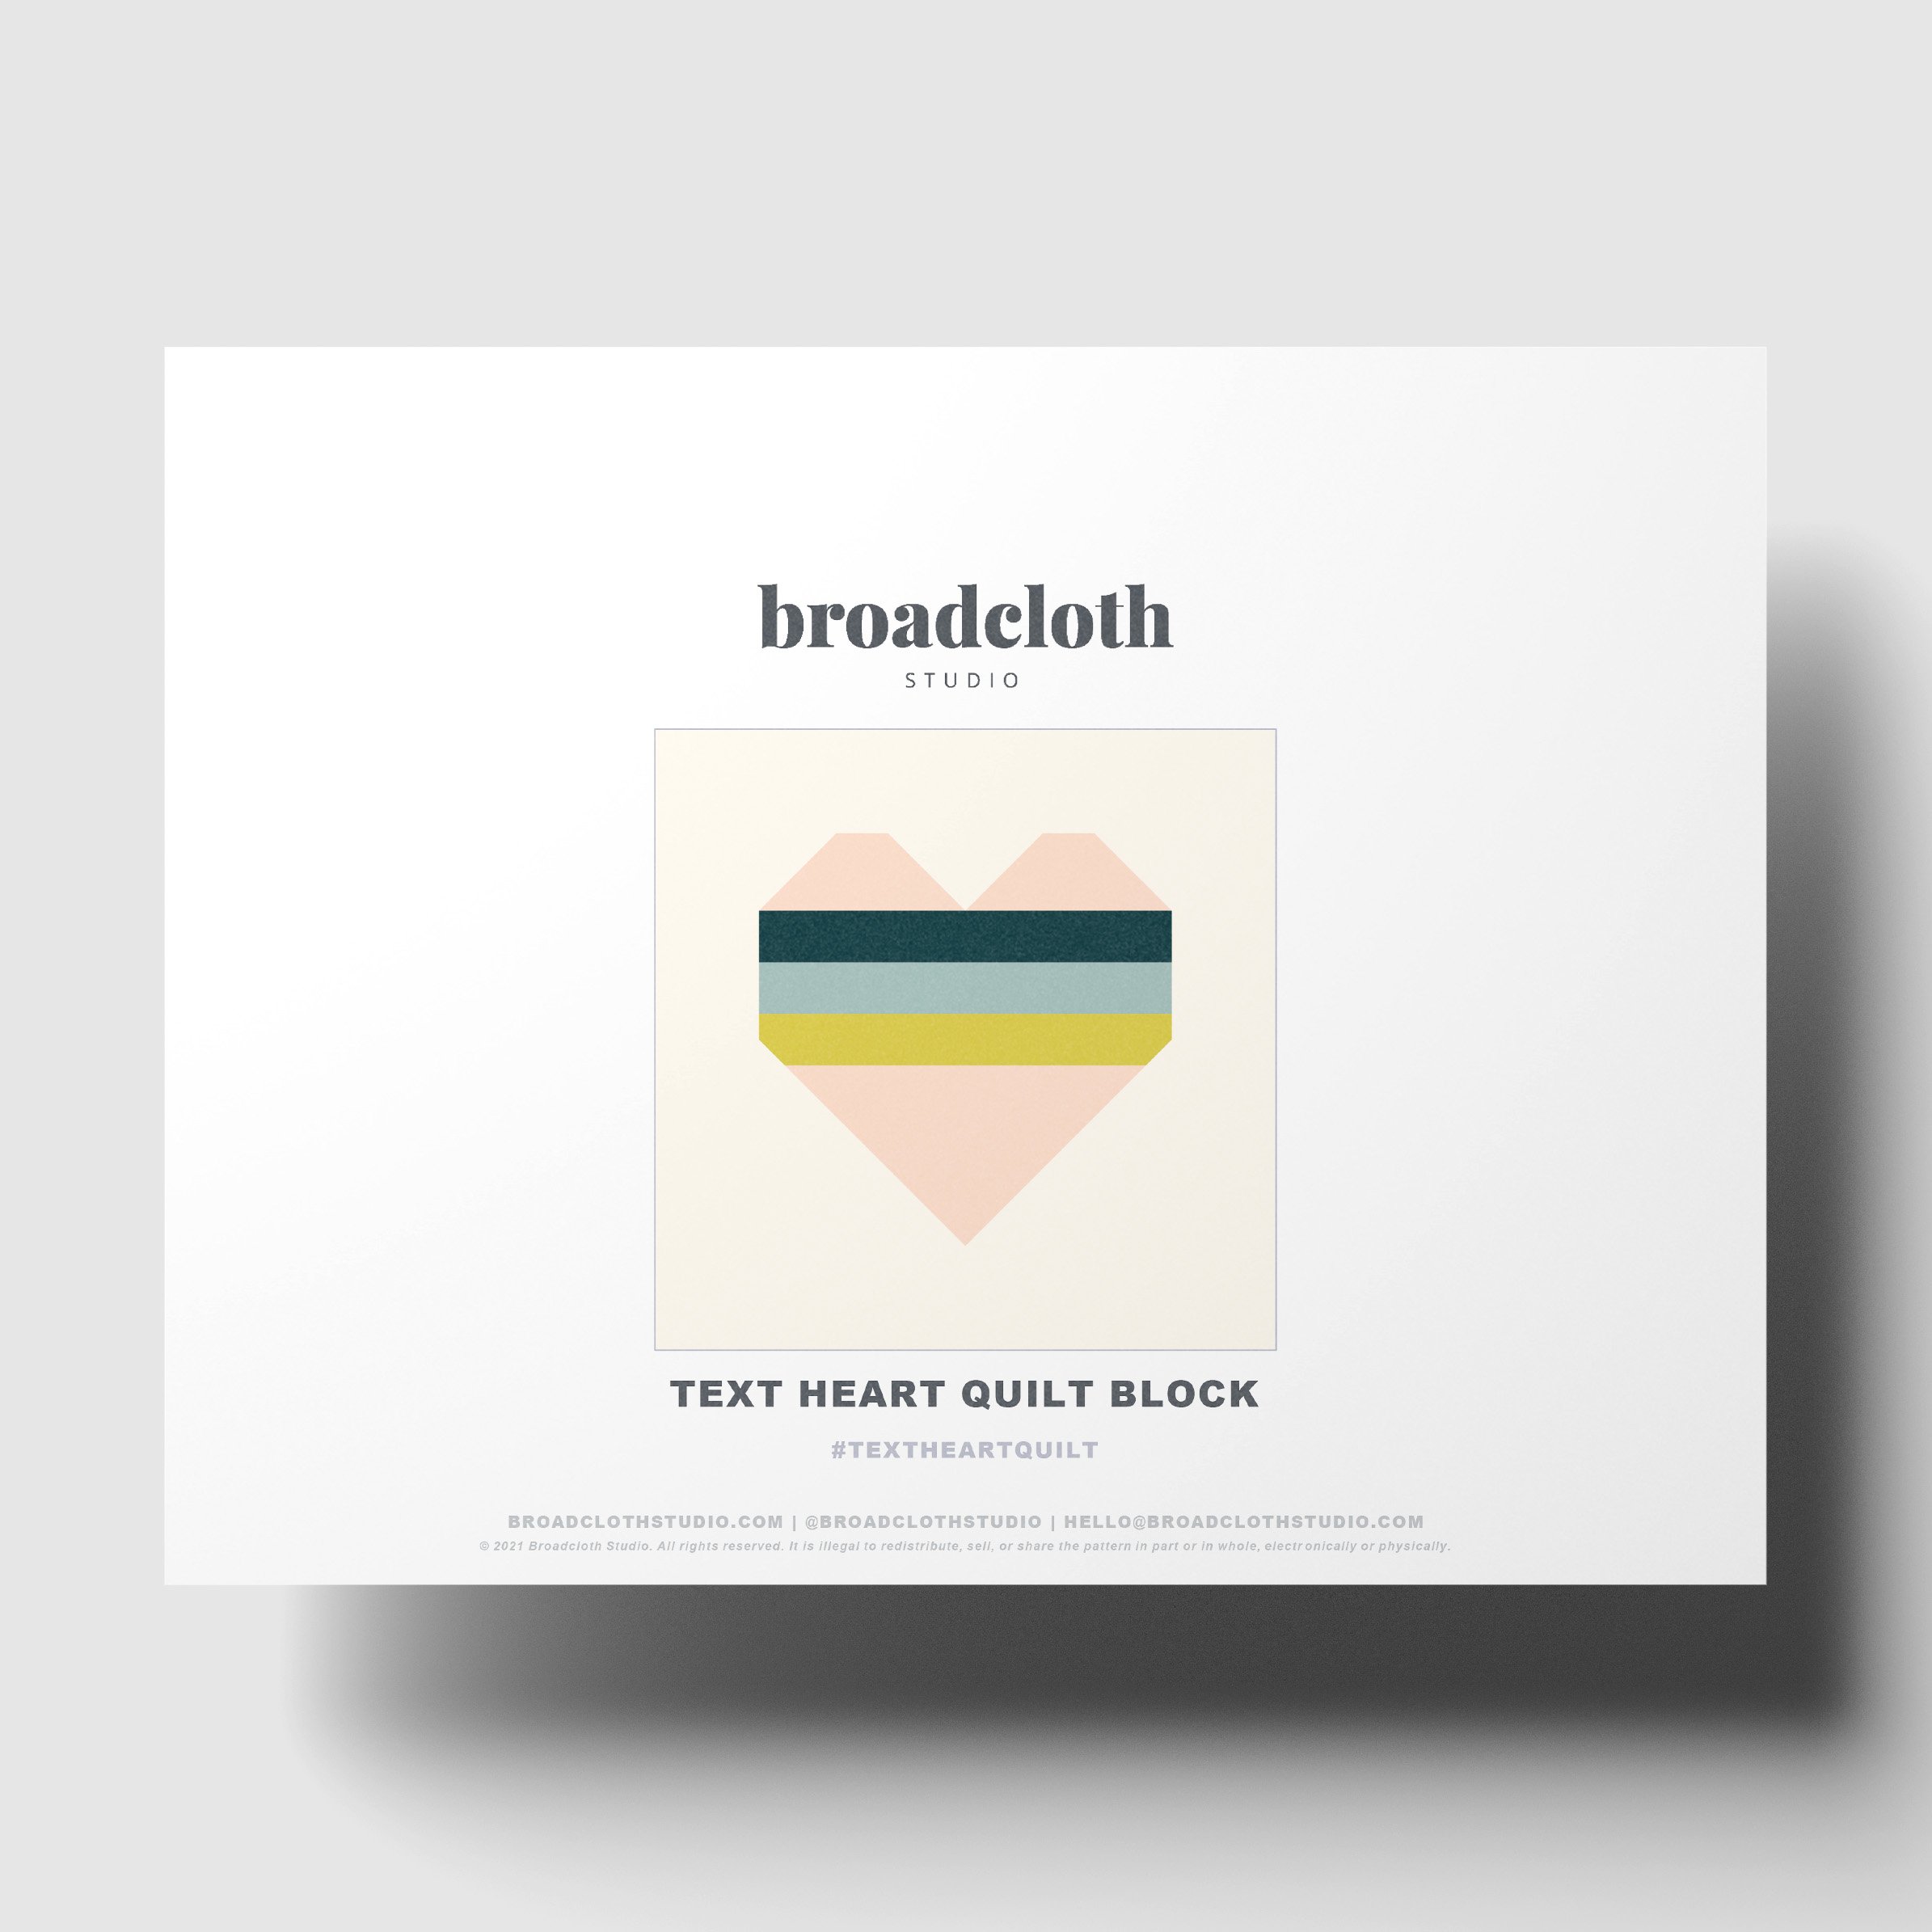
How to Make a Text Heart Throw Quilt

I love a classic sampler style quilt top, complete with sashing and borders: it’s just so delightfully neat and tidy. And it just so happens that my Text Heart Quilt Block is the perfect block to use for one! Inspired by the classic conversation hearts candy, you can make your own box of candies in throw quilt form as an extra-special-low-sugar gift with a whole lot of heart :)
Before you dive in, make sure to check out the digital coloring page for this throw-size how-to over on PreQuilt (and get ready to have fun playing around with your colors!):

Notes
Skill Level: Advanced Beginner
Finished Size: 60" x 60"
Seam Allowance: All cutting instructions factor in a ¼" seam allowance
Yardage/WOF: Width of fabric (WOF) is assumed to be 42"
Materials
Pattern: Text Heart Quilt Block
Accent Fabrics: (5) ½ yds.
Background Fabric: 3¼ yd.
Binding: ½ yd.
Backing: I love a scrappy quilt back, but if you’d prefer to have a single fabric back, you’ll need 4 yds. of backing fabric.
Cutting Instructions
You’ll be making 25 Text Heart Quilt Blocks in total, so just multiply the pattern cutting requirements by 25, except do NOT cut out any of the 2½” x 8½” and 2½” x 12½” Background Fabric pieces: those will be replaced by the sashing and borders.
If you’d like to speed things up a bit, you can strip piece your stripe sets instead of cutting and piecing each of the 1½” x 8½” Accent Fabric stripes individually by block. To do so, you’ll need the following:
Fabric A, B, C (Blue, Pink, and Chartreuse in the illustration):
(4) 1½” x WOF
(1) 1½” x 8½”
Fabric D + E (Dark Green and Yellow in the illustration)
(3) 1½” x WOF
For the Background Fabric you will also need to cut the following for the sashing and borders:
(5) 2½” x WOF
subcut (20) 2½” x 8½”
(1) 62” x WOF:
subcut parallel to the selvage:
(2) 6½” x 60½”
(2) 6½” x 48½”
(4) 2½” x 48½”
Why parallel to the selvage? Because I love the look of unpieced borders! While it might seem daunting and unwieldy to cut all these large pieces, it couldn’t be easier: the trick is to rip your fabric. Once I started ripping instead of piecing my borders and longer-than-WOF sashing pieces, I was hooked: it’s so speedy, and, more importantly, it’s fun.
To start, I like to trim my fabric down to a couple inches longer than I’ll need. For the Text Heart Throw, trim it down to ~62”. Next, make a snip ½” in from the selvage to get a clean edge. Make another snip 6½” in from the clean edge and tear. Repeat to get (2) 6½” strips total. Trim remaining fabric down to measure ~50” long and make a snip 6½” in from the edge and tear. Repeat to get (2) 6½” strips total for your side borders (you’ll trim these down at the end). With the remaining fabric, make a snip 2½” in from the edge and tear. Repeat to get (4) 2½” strips total. Iron out all the wobbly edges and set aside.
Binding: (7) 2½” x WOF
Block Assembly
In order to speed things up, you’re going to make all your stripe sets first (instead of individually assembling each per block). To do so, make the following strip sets using your 1½” x WOF Accent Fabric strips:
ABC
DCB
ECA
BDA
CEB
DEA
From each of the WOF stripe sets, cut (4) 8½” long pieces. Sew one stripe set with the 1½” x 8½” A, B, C pieces. You now have your (25) stripes.
You can make your heart blocks with as much or as little planning as you like! If you’d like to plan, I suggest laying out all your 4” x 8½” blocks first. Here is the order I used:
Row 1: E - A - B - D - C
Row 2: D - C - A - B - E
Row 3: A - B - E - C - D
Row 4: B - D - C - E - A
Row 5: C - E - D - A - B
Then layer in your stripe sets to get a nice mix. Once you have a layout you like, assemble your blocks following the Text Heart Quilt Block Pattern.
Quilt Top Assembly
Once you’ve got all your blocks made and you’ve settled on a block layout, grab your (20) 2½” x 8½” vertical sashing pieces and assemble your rows (5 blocks per row) and press.
Sew your rows together with the (4) 2½” x 48½” horizontal sashing, trimming the sashing down to size as necessary (I always trim down after I sew each pair of rows together).
Sew on your side borders (6½” x 48½”) and then your top and bottom borders (6½” x 60½”). Give it a press and a trim as needed.
Voila!
Baste, quilt, and bind as you prefer. Sit back and admire your beautiful quilt.
And then don’t forget to share your completed quilt top on the 'gram with the hashtag #TextHeartQuilt and tag me @broadclothstudio so I don’t miss it (I love to see your work)!
FEATURED PRODUCT
Celebrate Valentine's Day with a unique quilt project inspired by the classic conversation heart candies! This heart-themed patchwork pattern brings the nostalgic charm of retro Valentine’s candy into your quilting, complete with its bright colors and sweet design.
Perfect for the holiday, this pattern is ideal for creating a playful Valentine’s throw quilt or other creative designs. The heart block comes together easily, making it perfect to stitch up by the dozen and transform into a full quilt.
Whether you’re looking for fun Valentine’s quilting ideas or a special holiday project, this unique design will bring a cheerful, loving touch to your patchwork creations. Check out the how-to guide and digital coloring page for extra inspiration!
• Instant download PDF
• Quilting skill level: Advanced Beginner
• Standard American terms and measurements
• Includes quilt block pattern (finished size: 12" x 12")
Fabric Requirements:
• Fabric A, B, C +D: ⅛ yd or F8
• Background Fabric: ¼ yd or FQ
Resell of finished product with pattern credit allowed.
© 2021 Broadcloth Studio. All Rights reserved.
You May Also Enjoy These Quilting Tips and Guides:

