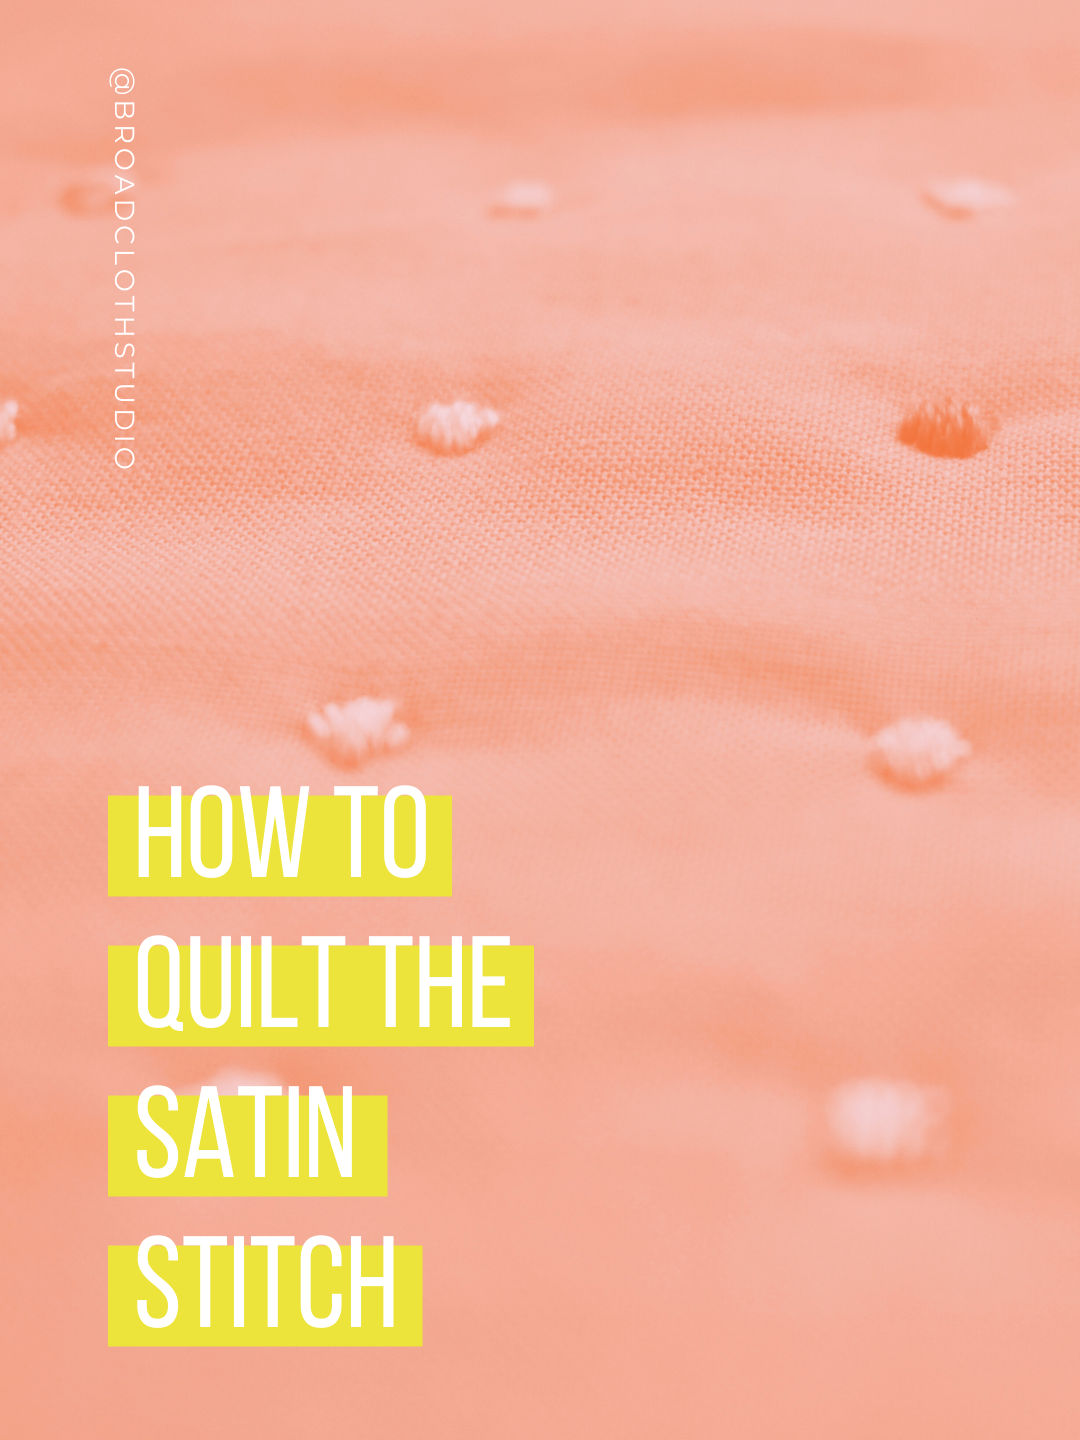
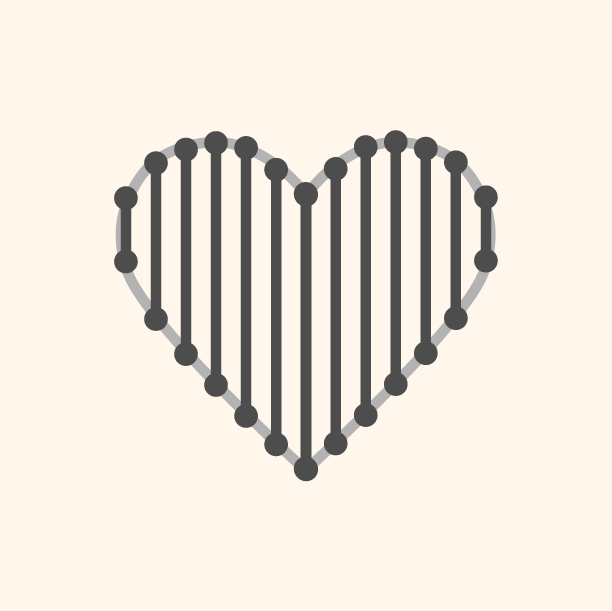
The Satin Stitch for Quilting
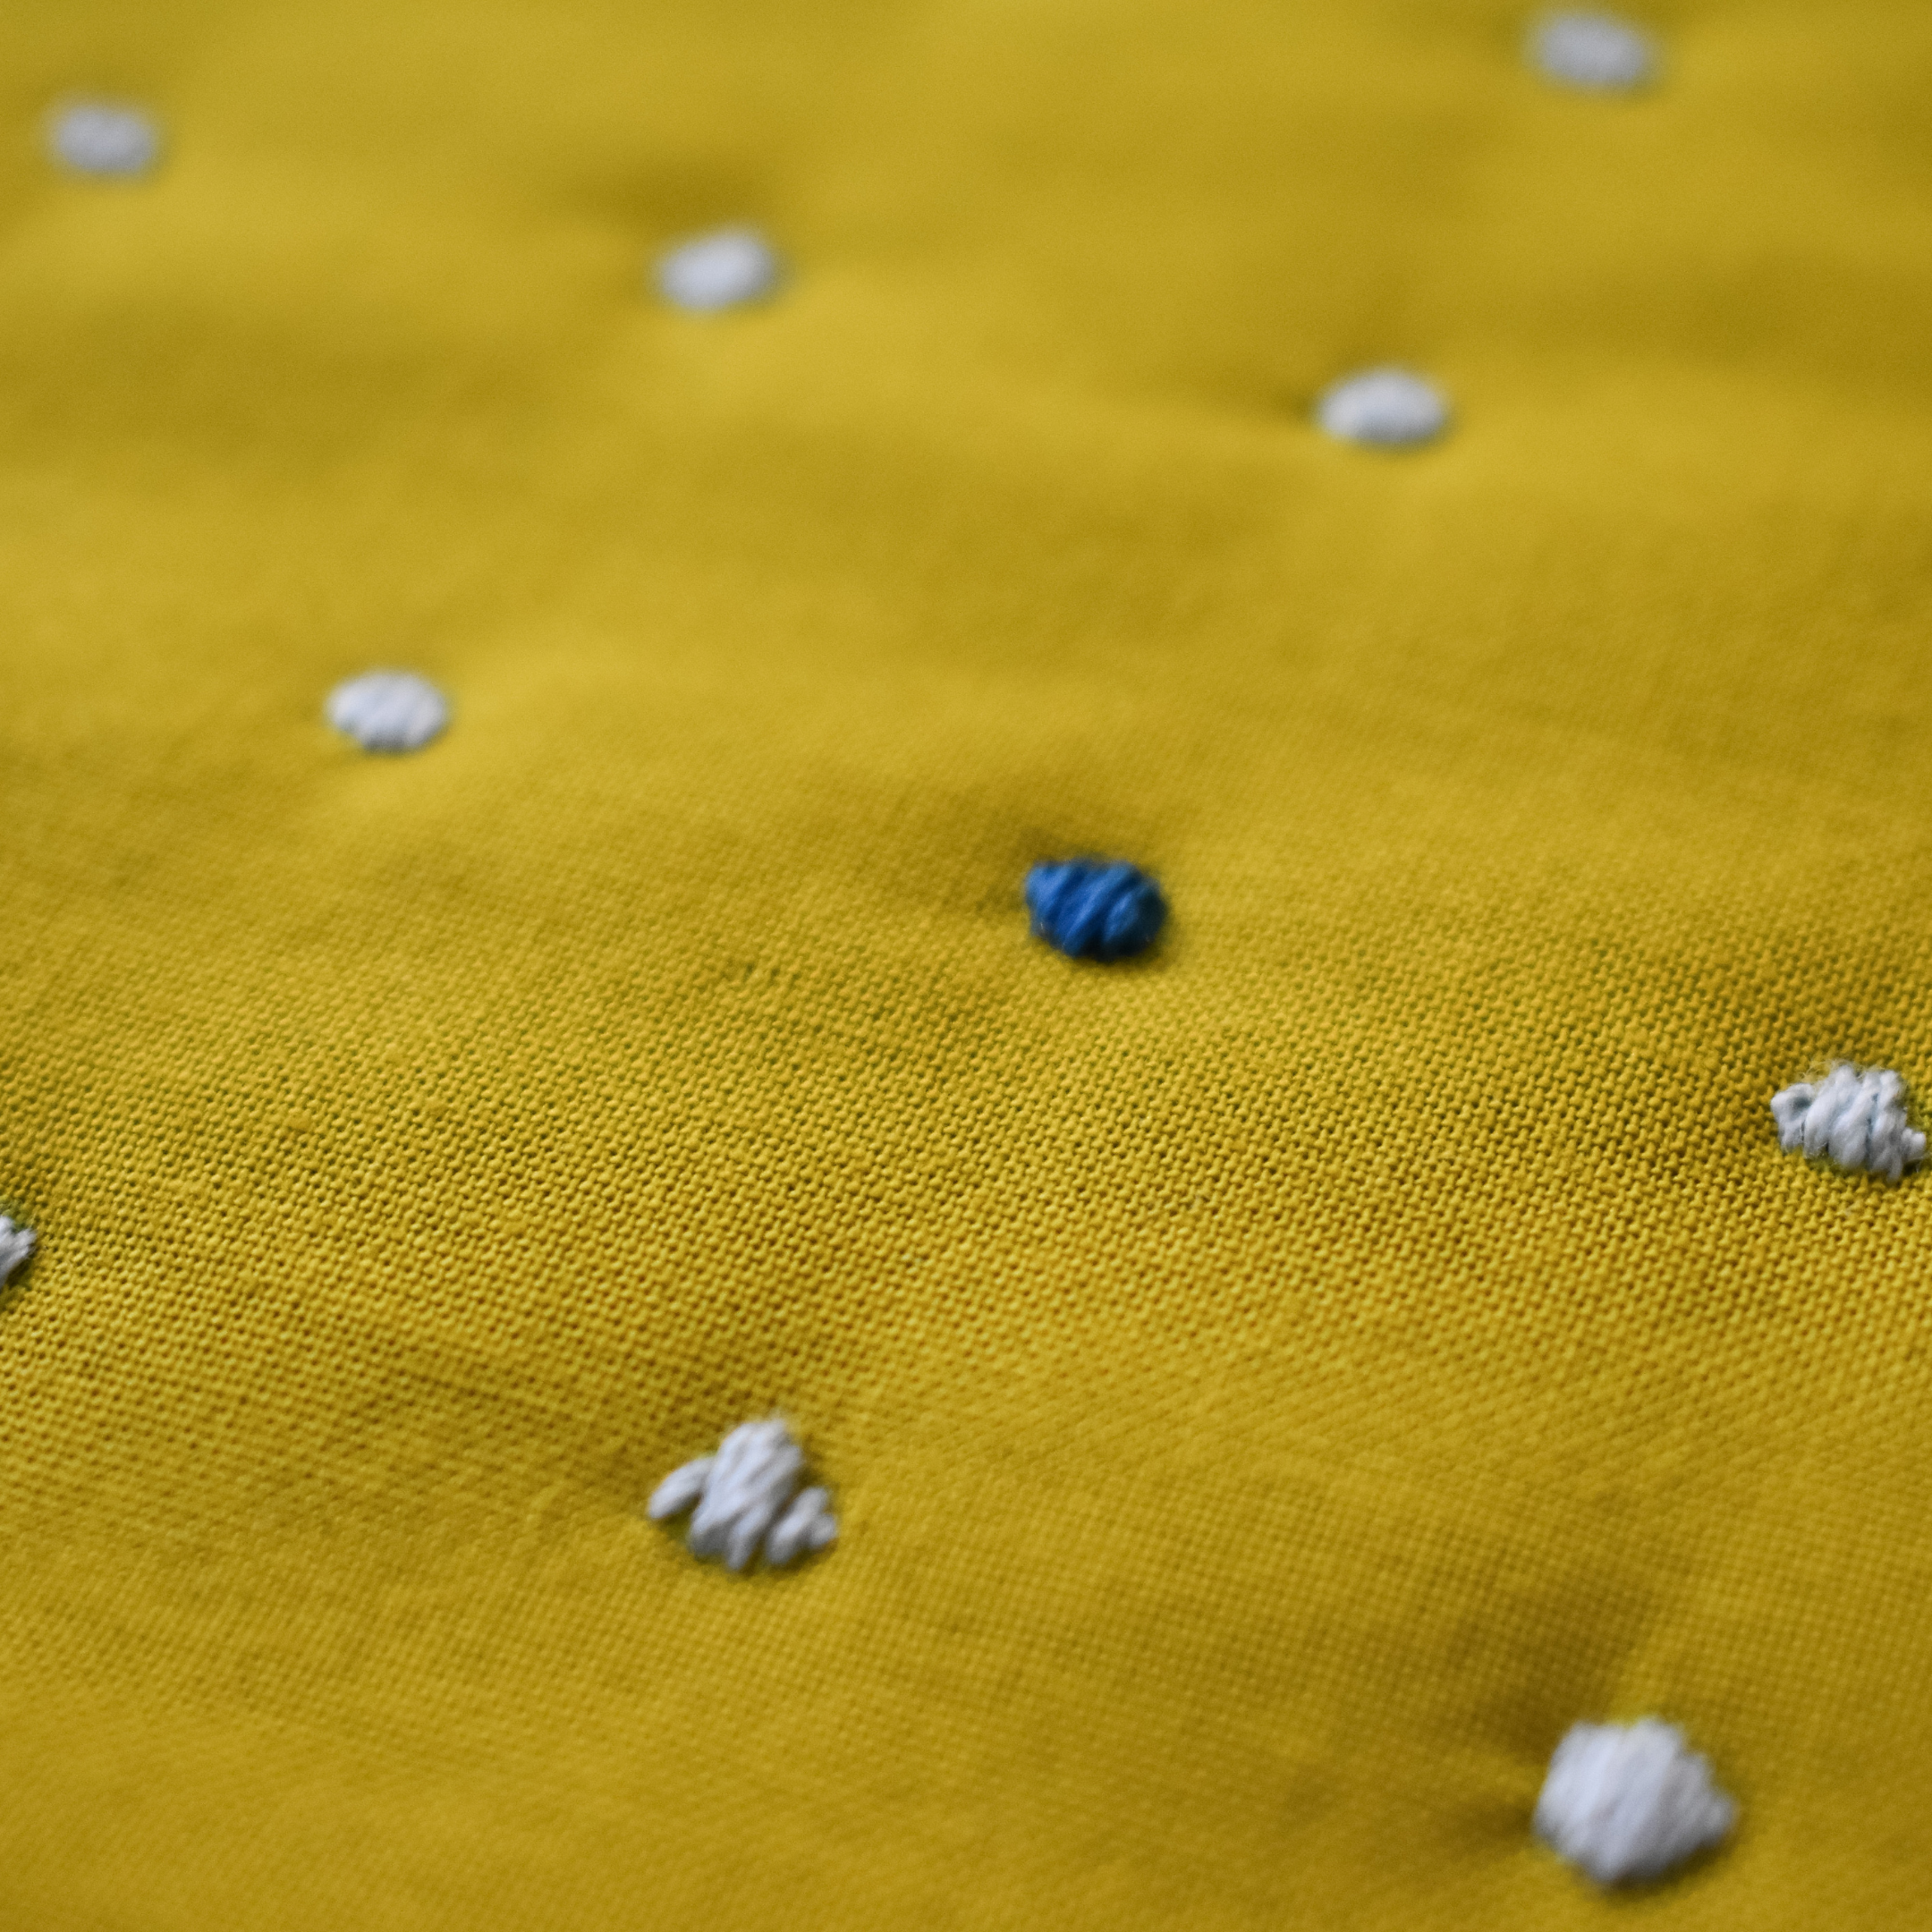
The Satin Stitch is a great embroidery stitch to use in quilting (#quiltbroidery) because 1) it’s super easy and 2) it looks pretty much the same on both the front of the back of the quilt. And bonus: the possibilities are pretty much endless as you’re basically coloring in a shape with thread (how cute would a whole-cloth quilt dotted with tiny hearts be?!?!). For example’s sake, let’s start with a circle.
Draw a circle on your fabric with your favorite fabric pen/pencil. Grab your needle and thread; I like to use a Sashiko needle and double threaded cotton 12wt (just knot the strands individually and bury the threads one at a time) but you definitely can have fun with this and play around with different thread weights. Note: I highly recommend using thread gloss for any hand quilting, it just makes stitching so much smoother.
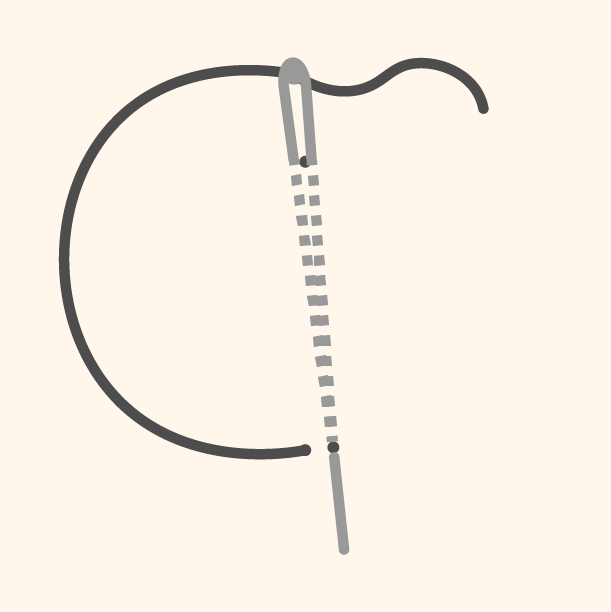
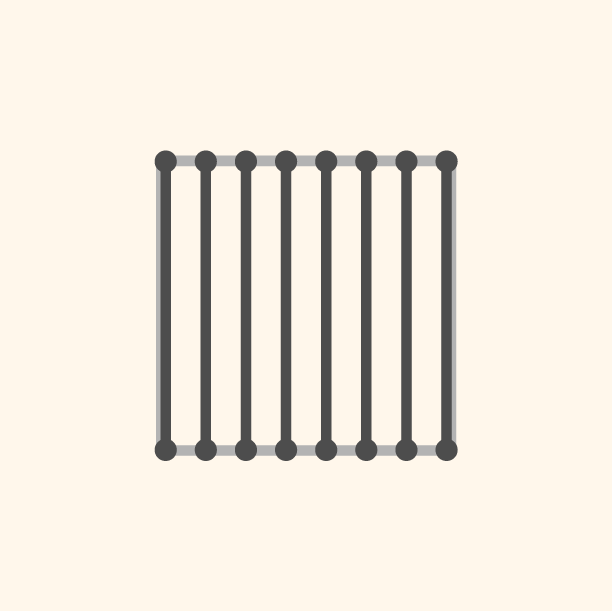
Bury your knot, coming up with your needle somewhere along the circumference of the circle. Make your first stitch directly across from where your needle came up on the circumference. Bring your needle back to the quilt side: your stich should come up right next to the original needle hole.
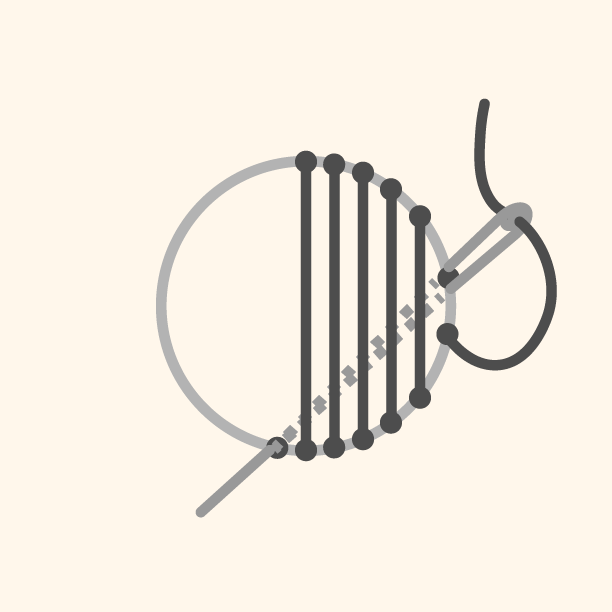
Make a stitch parallel to your first stitch, staying on the circumference. Once the first half of the circle is filled in, “weave” your needle and thread through the batting to come up on the other side of the original stitch.
Repeat until the entire circle is filled in. Knot and bury your knot as usual.

So easy! So cute! So versatile! Try your hands at making little squares or hearts (or leaf shapes or teardrops or triangles or tiny lightning bolts…you get the idea!).
You May Also Enjoy These Quilting Tips and Guides: