How to Bind a Quilt (Part 2: Finishing)
Looking for how to calculate how much binding tape you’ll need, how to make your tape, or how to attach your binding? You can find those posts here:
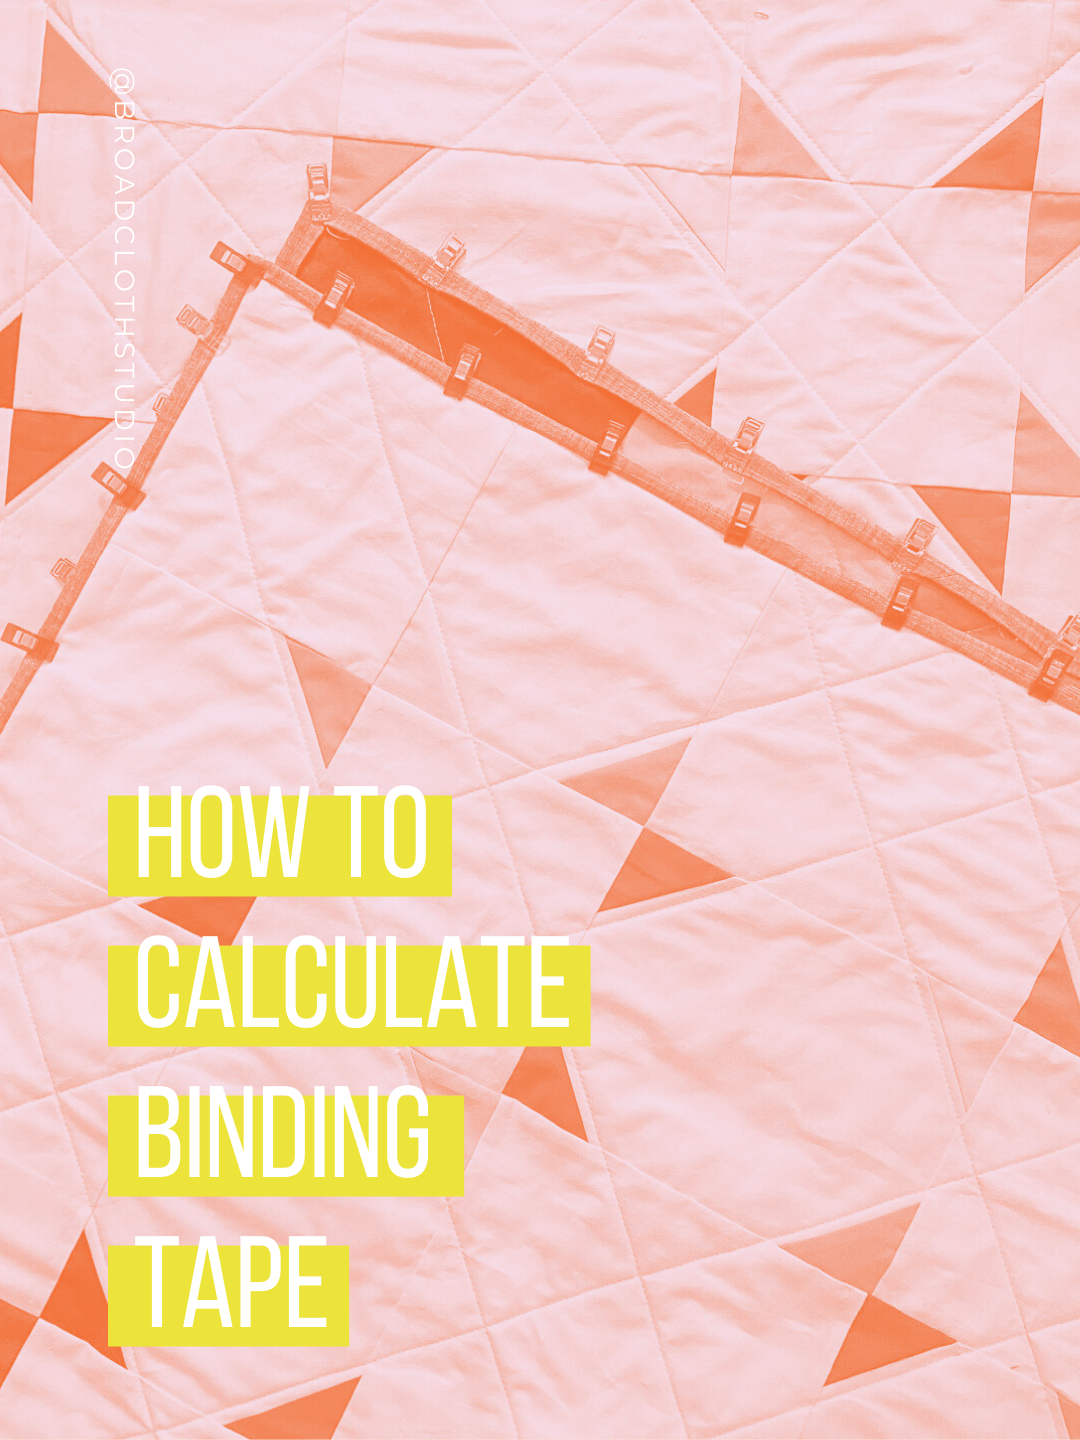
HOW TO CALCULATE HOW MUCH BINDING TAPE YOU NEED
How to Finish Binding by Hand
Once I have the binding tape attached to the front of the quilt, I use a blind hem or slip stitch to finish it on the back.
1. Fold your tape over and around the raw edge of the quilt
2. Pin in place or use Clover WonderClips to tack down (I’ve also run a basting stitch around the edge of the quilt in days of yore) Folding and tacking in place before you start sewing is totally optional: I just find it's a more enjoyable experience to have it all in place instead of folding as I go! I also like to clip all the sides first and then clip my corners as I come to them (just one of those odd quirks/personal preferences!).
3. Use a blind hem or slip stitch to finish it on the back (I’ve seen some folks sew with the quilt edge facing away from them, I sew with it towards me: try both to see which is most comfortable for you!). Don’t go through all the layers of the quilt! You just need to sew the binding to the quilt back fabric.
4. When you get to a corner, fold the tape to make a mitered (I like to fold it in the opposite direction of where the tape is folded on the front so it’s less bulky) and stitch down before continuing to stitch along the next edge
How to Finish Binding by Machine
If you’re finishing on your machine, my best advice is to turn down the stitch speed to help curb any tendencies to rush (I love to sew fast and it always gets me in trouble when I’m machine binding)!
1. Leave your walking foot on for this part of the process
2. Fold your tape over and around the raw edge of the quilt
3. Pin in place or use Clover WonderClips to tack down. Folding and tacking in place before you start sewing is totally optional: I just find it's a more enjoyable experience to have it all in place instead of folding as I go (see videos above for an example).
4. Lower your needle so that it is just about a ⅛” from the edge of the binding and begin stitching (I will often adjust my needle position a little to the left to make it easier for me to use the edge of the foot as a guide – this will totally depend on your sewing machine and how you like to sew). I like to start at a corner or just before a corner, but you can honestly start wherever is comfortable for you!
5. Just as you’re about to get to a corner, fold the tape to make a mitered corner (I like to fold it in the opposite direction of where the tape is folded on the front so it’s less bulky)
6. Continue stitching till you’re just where the miter fold is. Lower your needle and raise your walking foot
7. Pivot your quilt so you’re ready to start stitching down the next side.
8. Lower your walking foot and continue stitching.
9. When you come back to where you started, decrease your stitch length to take a couple back stitches before ending and trimming your threads.
And there you have it: now it’s time to step back and admire your finished quilt!
How to Attach Quilt Binding Tape: Step-by-Step Guide