

How to Make a Spotlight Block Quilt
Scrappy, stash-busting sewing is high on my list of favorite things to do. So when Wendy @the.weekendquilter proposed teaming up on the #StrictlyScrappyQAL I was super excited to dive into designing a pattern all about scraps: I had a dozen different ideas doodled already, so it was really just a matter of picking one that would work within the parameters of the QAL. And there I was, chugging along, designing my templates, pulling together all the details when suddenly I was hit with a wave of self-doubt: what if what I consider a scrap doesn’t match others’ definition of a scrap?
Originally, I thought I would keep one fabric a simple off-white and mix and match all the other fabrics with a selection of Large Scraps from my bin. But then I panicked, worried that the fabric required was ʺtoo bigʺ to be considered a scrap. Then my brain jumped to the smallest scraps I had on hand and I wondered, what about Crumb Quilting? But then I worried that while it’d be a great way to use up all those tiny odds and ends, that maybe it’d be too overwhelming and too labor intensive for this specific sew-along.
From there I thought about all the extra binding strips I’ve saved and wondered about sewing together some Scrappy Stripes instead. And while I immediately fell in love with that idea (and my rough sketch), I couldn’t shake the fear of running out of time, that maybe this would be better as a personal ongoing-project. Add to the mix the concern of how do I convey how many scraps you’ll need and how to calculate that…round and round and round my thoughts and concerns and excitement went!
Until I finally remembered that scraps are subjective: each maker gets to decide what a scrap is and how to use it, or even if to use it. So, whether your scraps are two lengths of yardage that you haven’t found the right project for yet, or a stack of fat eighths, or a collection of castoff binding strips, or a jar of itty-bitty crumbs of fabric (or some combination of all of the above), I hope you have fun getting scrappy with this block.
At this point, you may be saying ʺwell that’s all well and good, Amanda, but how do I turn this block into a scrappy throw size quilt?ʺ So, just in case you’re looking for a little more guidance, here’s how I would approach the project depending on the variety of scraps you’ve got on hand!
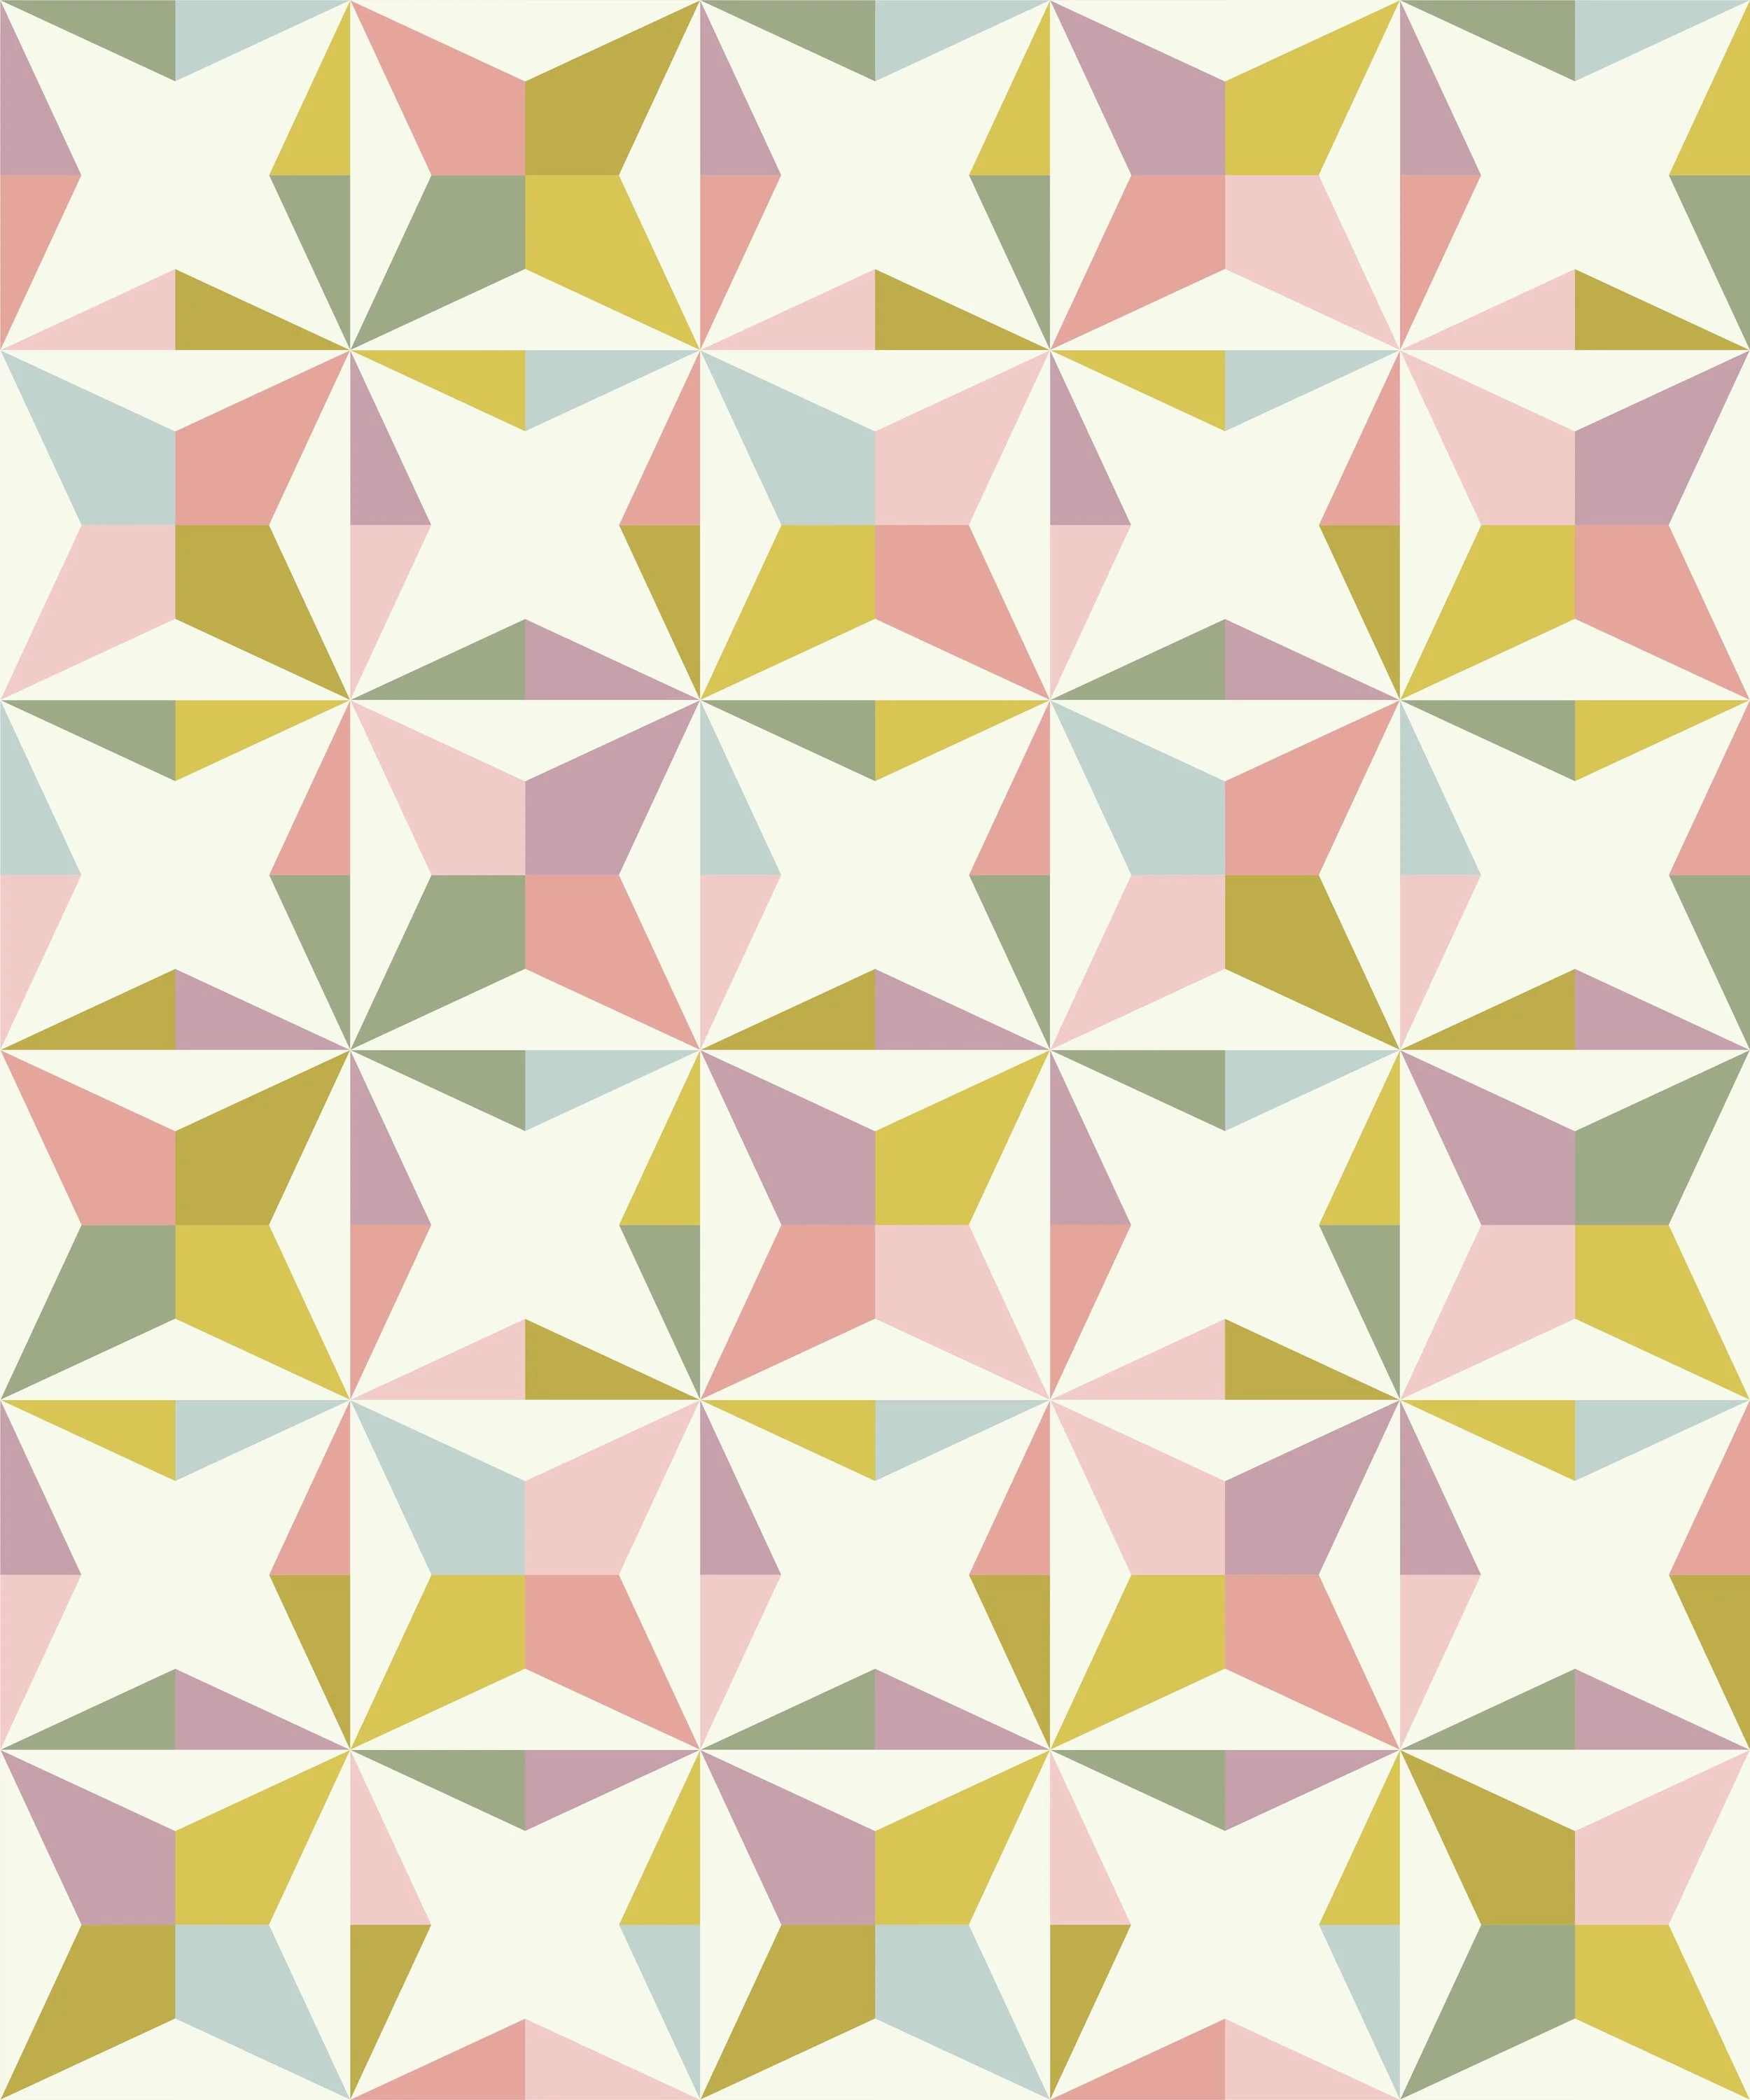
P.S. the Spotlight Block is my take on the classic “Corner Beam” quilting shape. If you’re looking for even more ways to put this shape to use, make sure to give it a google and/or a Pinterest search!
Block Requirements
No matter what scraps you’re working with, to make a Crib or Throw size quilt you’ll need to make the following number of blocks:
| Size | Dimensions | Blocks "Wide" | Blocks "Tall" | Total Blocks |
|---|---|---|---|---|
| Crib | 36" x 48" | 6 | 8 | 48 |
| Throw | 60" x 72" | 10 | 12 | 120 |
Original Layout Version
To make a quilt with all the same block layout (or one with a truly random scrappy hodge-podge of fabrics with each block a different fabric combination), you’ll need the following number of pieces:
| Size | Dimensions | Approach | Fabric A | Fabric B |
|---|---|---|---|---|
| Crib | 36" x 48" | Individual Pieces | 5¼" x 9½" (48) | 3½" x 7½" (96) |
| Throw | 60" x 72" | Individual Pieces | 5¼" x 9½" (120) | 3½" x 7½" (240) |
If you’d like to save a little fabric and use the HRT “Method” I mention in the Note on Fabric on Page 1 of the Spotlight Block Pattern, you’ll need the following number of pieces:
| Size | Dimensions | Approach | Fabric A | Fabric B |
|---|---|---|---|---|
| Crib | 36" x 48" | HRT "Method" | 5¼" x 9½" (48) | 4" x 8" (48) |
| Throw | 60" x 72" | HRT "Method" | 5¼" x 9½" (120) | 4" x 8" (120) |
If you’re making a super scrappy version where each block is a different fabric combination, then you can also use the 8ʺ Square approach I mention in the Note on Fabric on Page 1 of the Spotlight Block Pattern. To do so, you’ll need the following number of squares:
| Size | Dimensions | Approach | Squares |
|---|---|---|---|
| Crib | 36" x 48" | Squares | 8" x 8" (48) |
| Throw | 60" x 72" | Squares | 8" x 8" (120) |
Alternating Fabric Version
If you want to make an “Alternating” Four-Block Version (where Fabric A and B switch/invert every other group of four blocks), you’ll need to make the following:
| Size | Dimensions | "Original" Blocks | "Inverted" Blocks |
|---|---|---|---|
| Crib | 36" x 48" | 24 | 24 |
| Throw | 60" x 72" | 60 | 60 |
”Alternating” Layout Requirements - Crib
| Approach | Fabric A | Fabric B |
|---|---|---|
| Individual Pieces | 5¼" x 9½" (24); 3½" x 7½" (48) | 5¼" x 9½" (24); 3½" x 7½" (48) |
| HRT "Method" | 5¼" x 9½" (24); 4" x 8" (24) | 5¼" x 9½" (24); 4" x 8" (24) |
| Squares | 8" x 8" (24) | 8" x 8" (24) |
“Alternating” Requirements - Throw
| Approach | Fabric A | Fabric B |
|---|---|---|
| Individual Pieces | 5¼" x 9½" (60); 3½" x 7½" (120) | 5¼" x 9½" (60); 3½" x 7½" (120) |
| HRT "Method" | 5¼" x 9½" (60); 4" x 8" (60) | 5¼" x 9½" (60); 4" x 8" (60) |
| Squares | 8" x 8" (60) | 8" x 8" (60) |
My #StrictlyScrappyQAL Project Plan
For my #StrictlyScrappyQAL, I’ll be making a throw-size alternating block version using yardage for half of the fabric and scraps for the rest. Here’s my yardage cutting plan for the solid fabric (assuming a 42ʺ WOF, you can cut up to (5) 8ʺ x 8ʺ Squares from each WOF strip):
| Fabric | Yrds. | WOF Cuts | # 8" Squares |
|---|---|---|---|
| Solid Yardage | 2¾ yds. | 8" x WOF (12) | 60 |
| Scraps | N/A | N/A | 60 |
When I was dreaming up what I wanted my QAL project to look like, I also considered some other ideas (through the mental journey I detailed out at the beginning of this post). In case it’s helpful in getting your own design muscle firing up, here are some other variations I considered for this QAL:
Yardage
Got yardage lying around that you’ve been meaning to work with, but have never found the right project for? Try finding a fun pairing to lean into the geometric lines of the quilt pattern! Instead of the selection of scraps in the table above, just use the Solid Yardage instructions for two different fabrics.

Large Scraps & Precuts (8ʺ-10ʺ; Layer Cakes, Fat Eighths, Fat Quarters)
If you’re working with ʺlargerʺ scraps or pre-cuts, like Layer Cakes, Fat Eighths, or Fat Quarters, here’s an idea of what it could look like (the one to the left is the version I’m making; on the right is one with all scraps in it):

Smaller Scraps
If you’re working with small scraps of all sorts of assorted shapes and sizes, consider trying crumb quilting to make fabric for one fabric, pairing it with a solid for Fabric A to create a cool juxtaposition (illustrated on the left). Or if you’ve got a ton of binding scraps and other small rectangles, create a striped fabric for your Fabric B (illustrated on the right).


Backing & Binding
I think this project is just perfect for a #partyinthequiltback to help use up even more scraps, but if you’re scrapped-out, here’s the yardage required for your backing and binding:
| undefined | Dimensions | Binding - Yardage | Binding - WOF | Backing - Yardage |
|---|---|---|---|---|
| Crib | 36ʺ x 48ʺ | ½ yd. | 2½ʺ x WOF (5) | 1½ yds. |
| Throw | 60ʺ x 72ʺ | ½ yd. | 2½ʺ x WOF (7) | 4 yds. |
So, what are you waiting for? Grab your copy of the Spotlight Block and dive into your stash!
You May Also Enjoy These Quilting Tips and Guides:


